Version Statement
The latest design details may not fully match the sample demonstrated in the pictures, but the main operations are similar!!!
The latest version uses PLA material and adopts a support contact surface material that is easy to peel off. The cassette has better precision, smoother surfaces, and completely eliminates the light leakage issue caused by powder sintering.
Cassette Structure
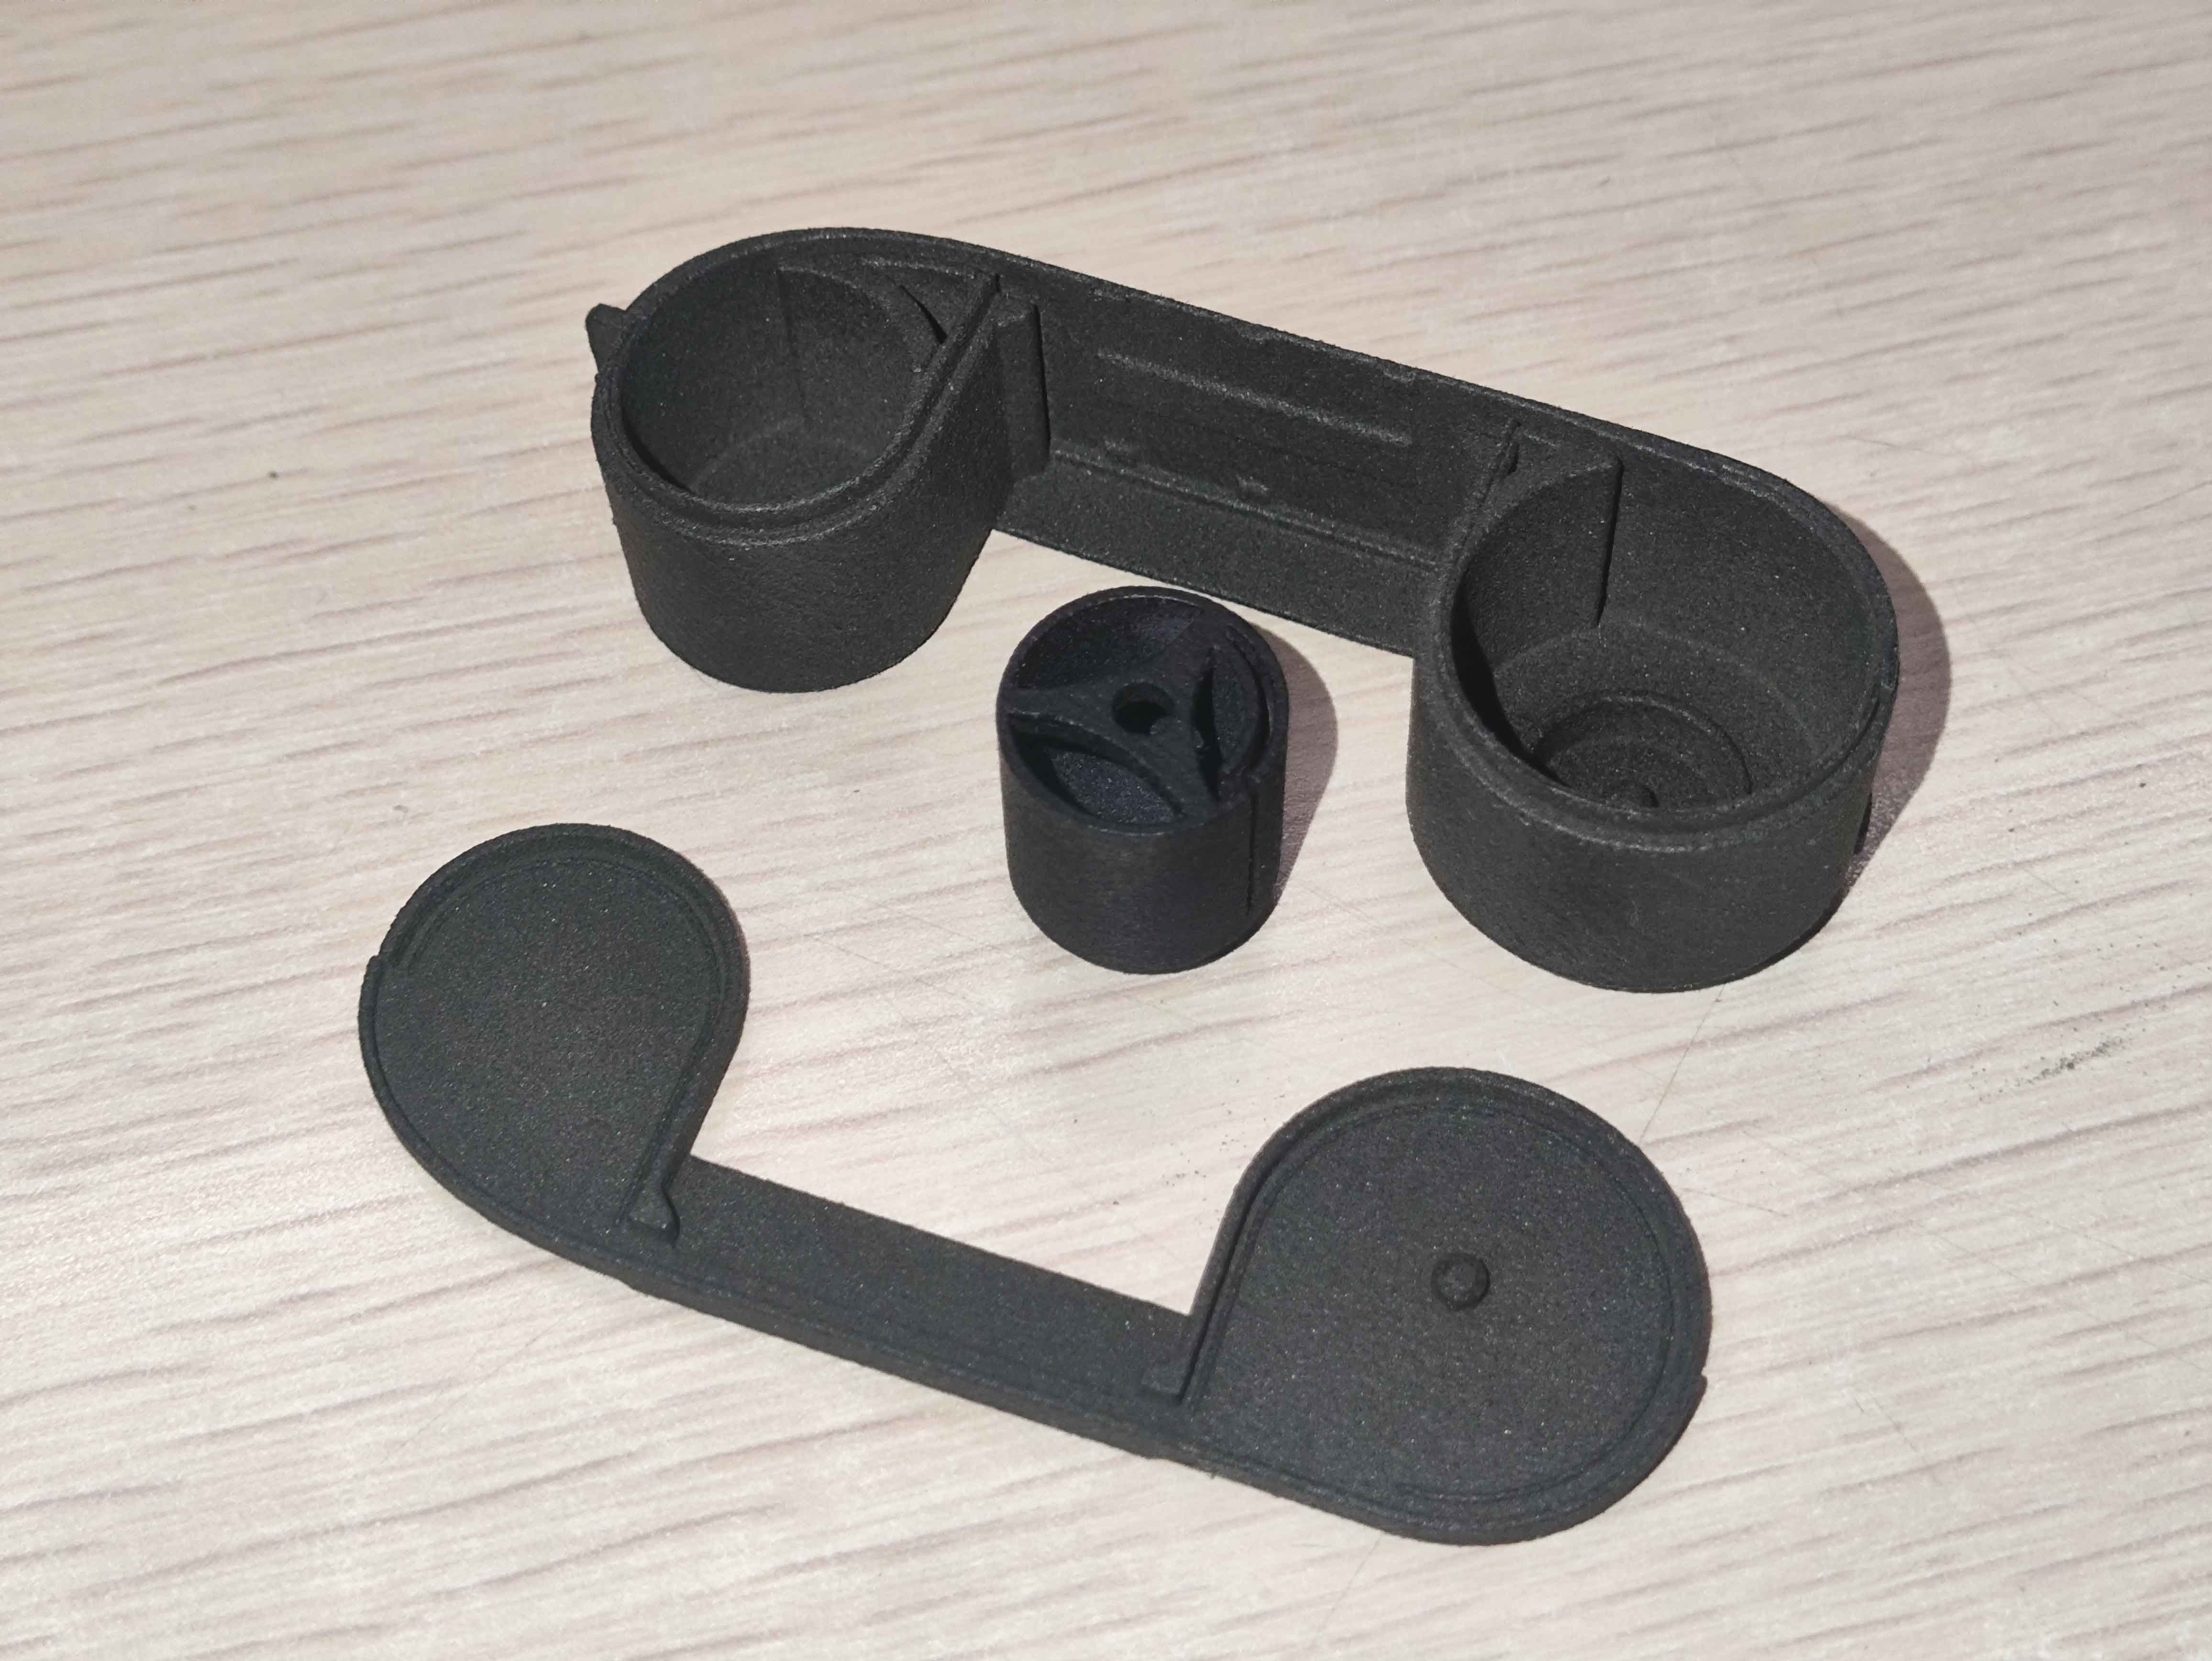
The cassette consists of three parts: the main body, the spindle, and the top cover (shown from bottom to top in the image).
Reassembly Process
1. Identify Film Orientation
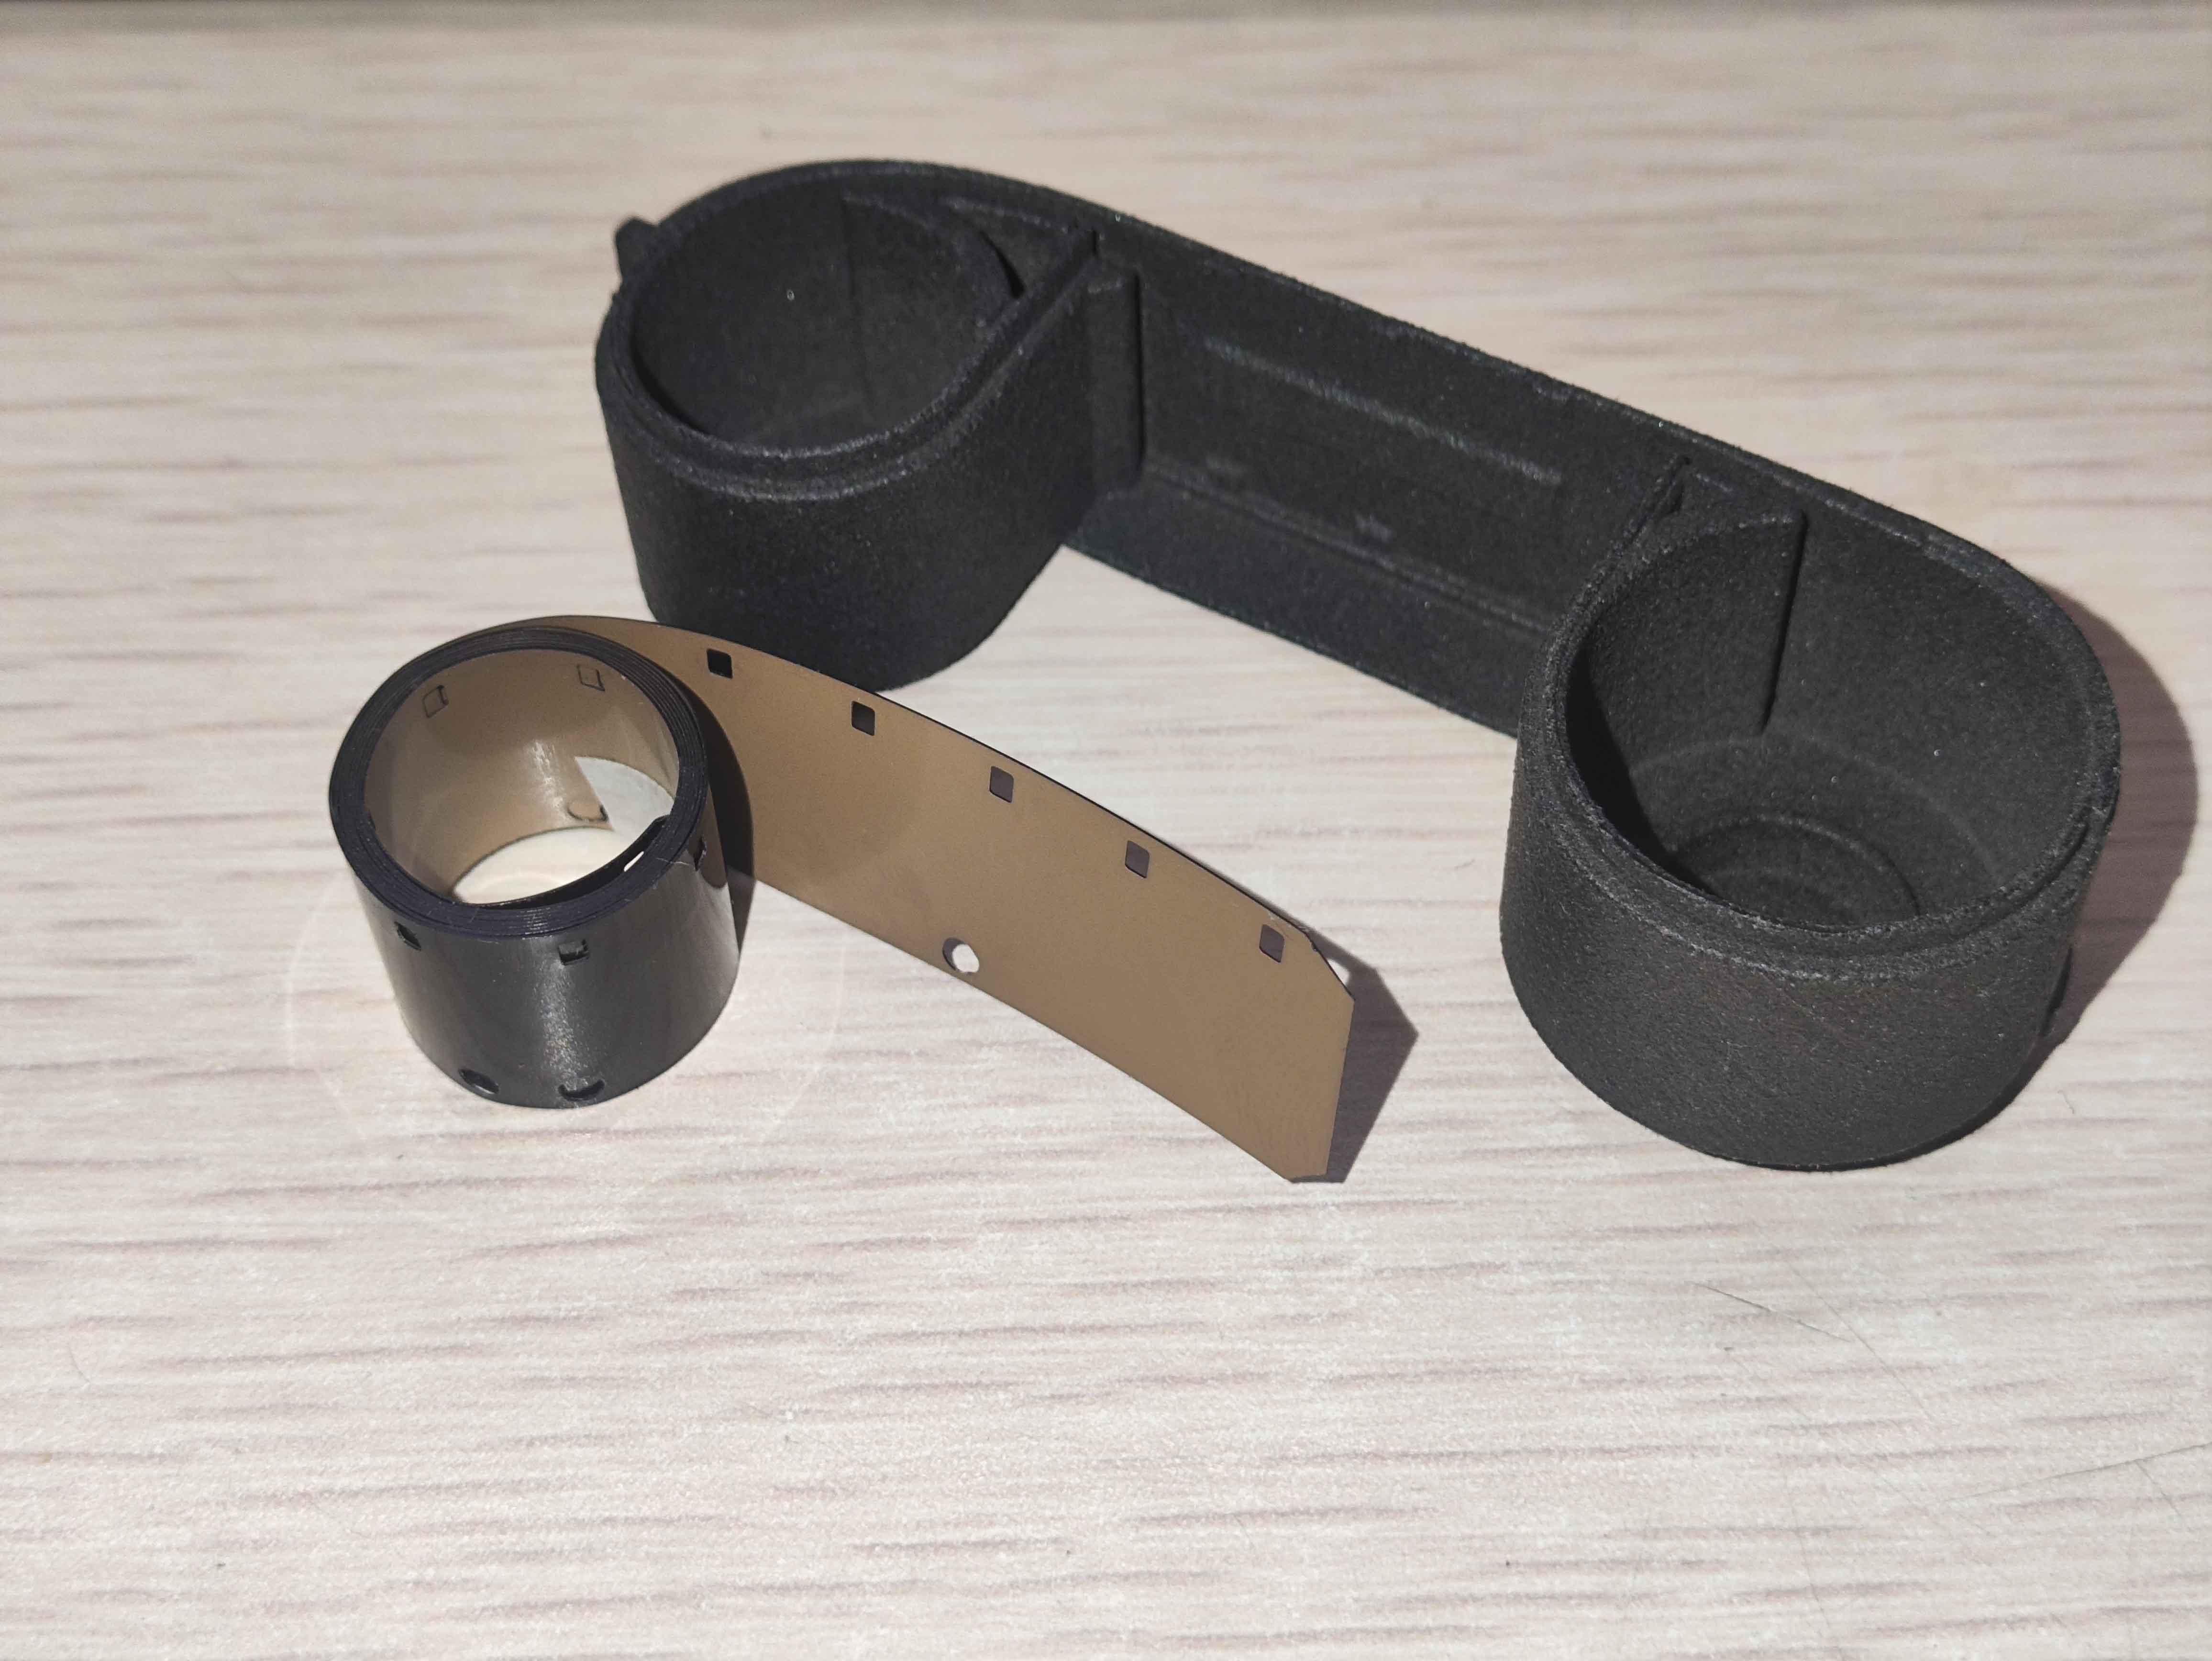
The pure film sold uses the winding direction shown below:
- Emulsion side facing inward
- The exposed end on the outer side is inserted into one end of the spindle
- The overall orientation is similar to how it is placed inside the cassette
The positioning holes with 25mm spacing are on the lower side, and the original single-sided perforations of the 16mm film are on the upper side.
2. Fold the Film Leader
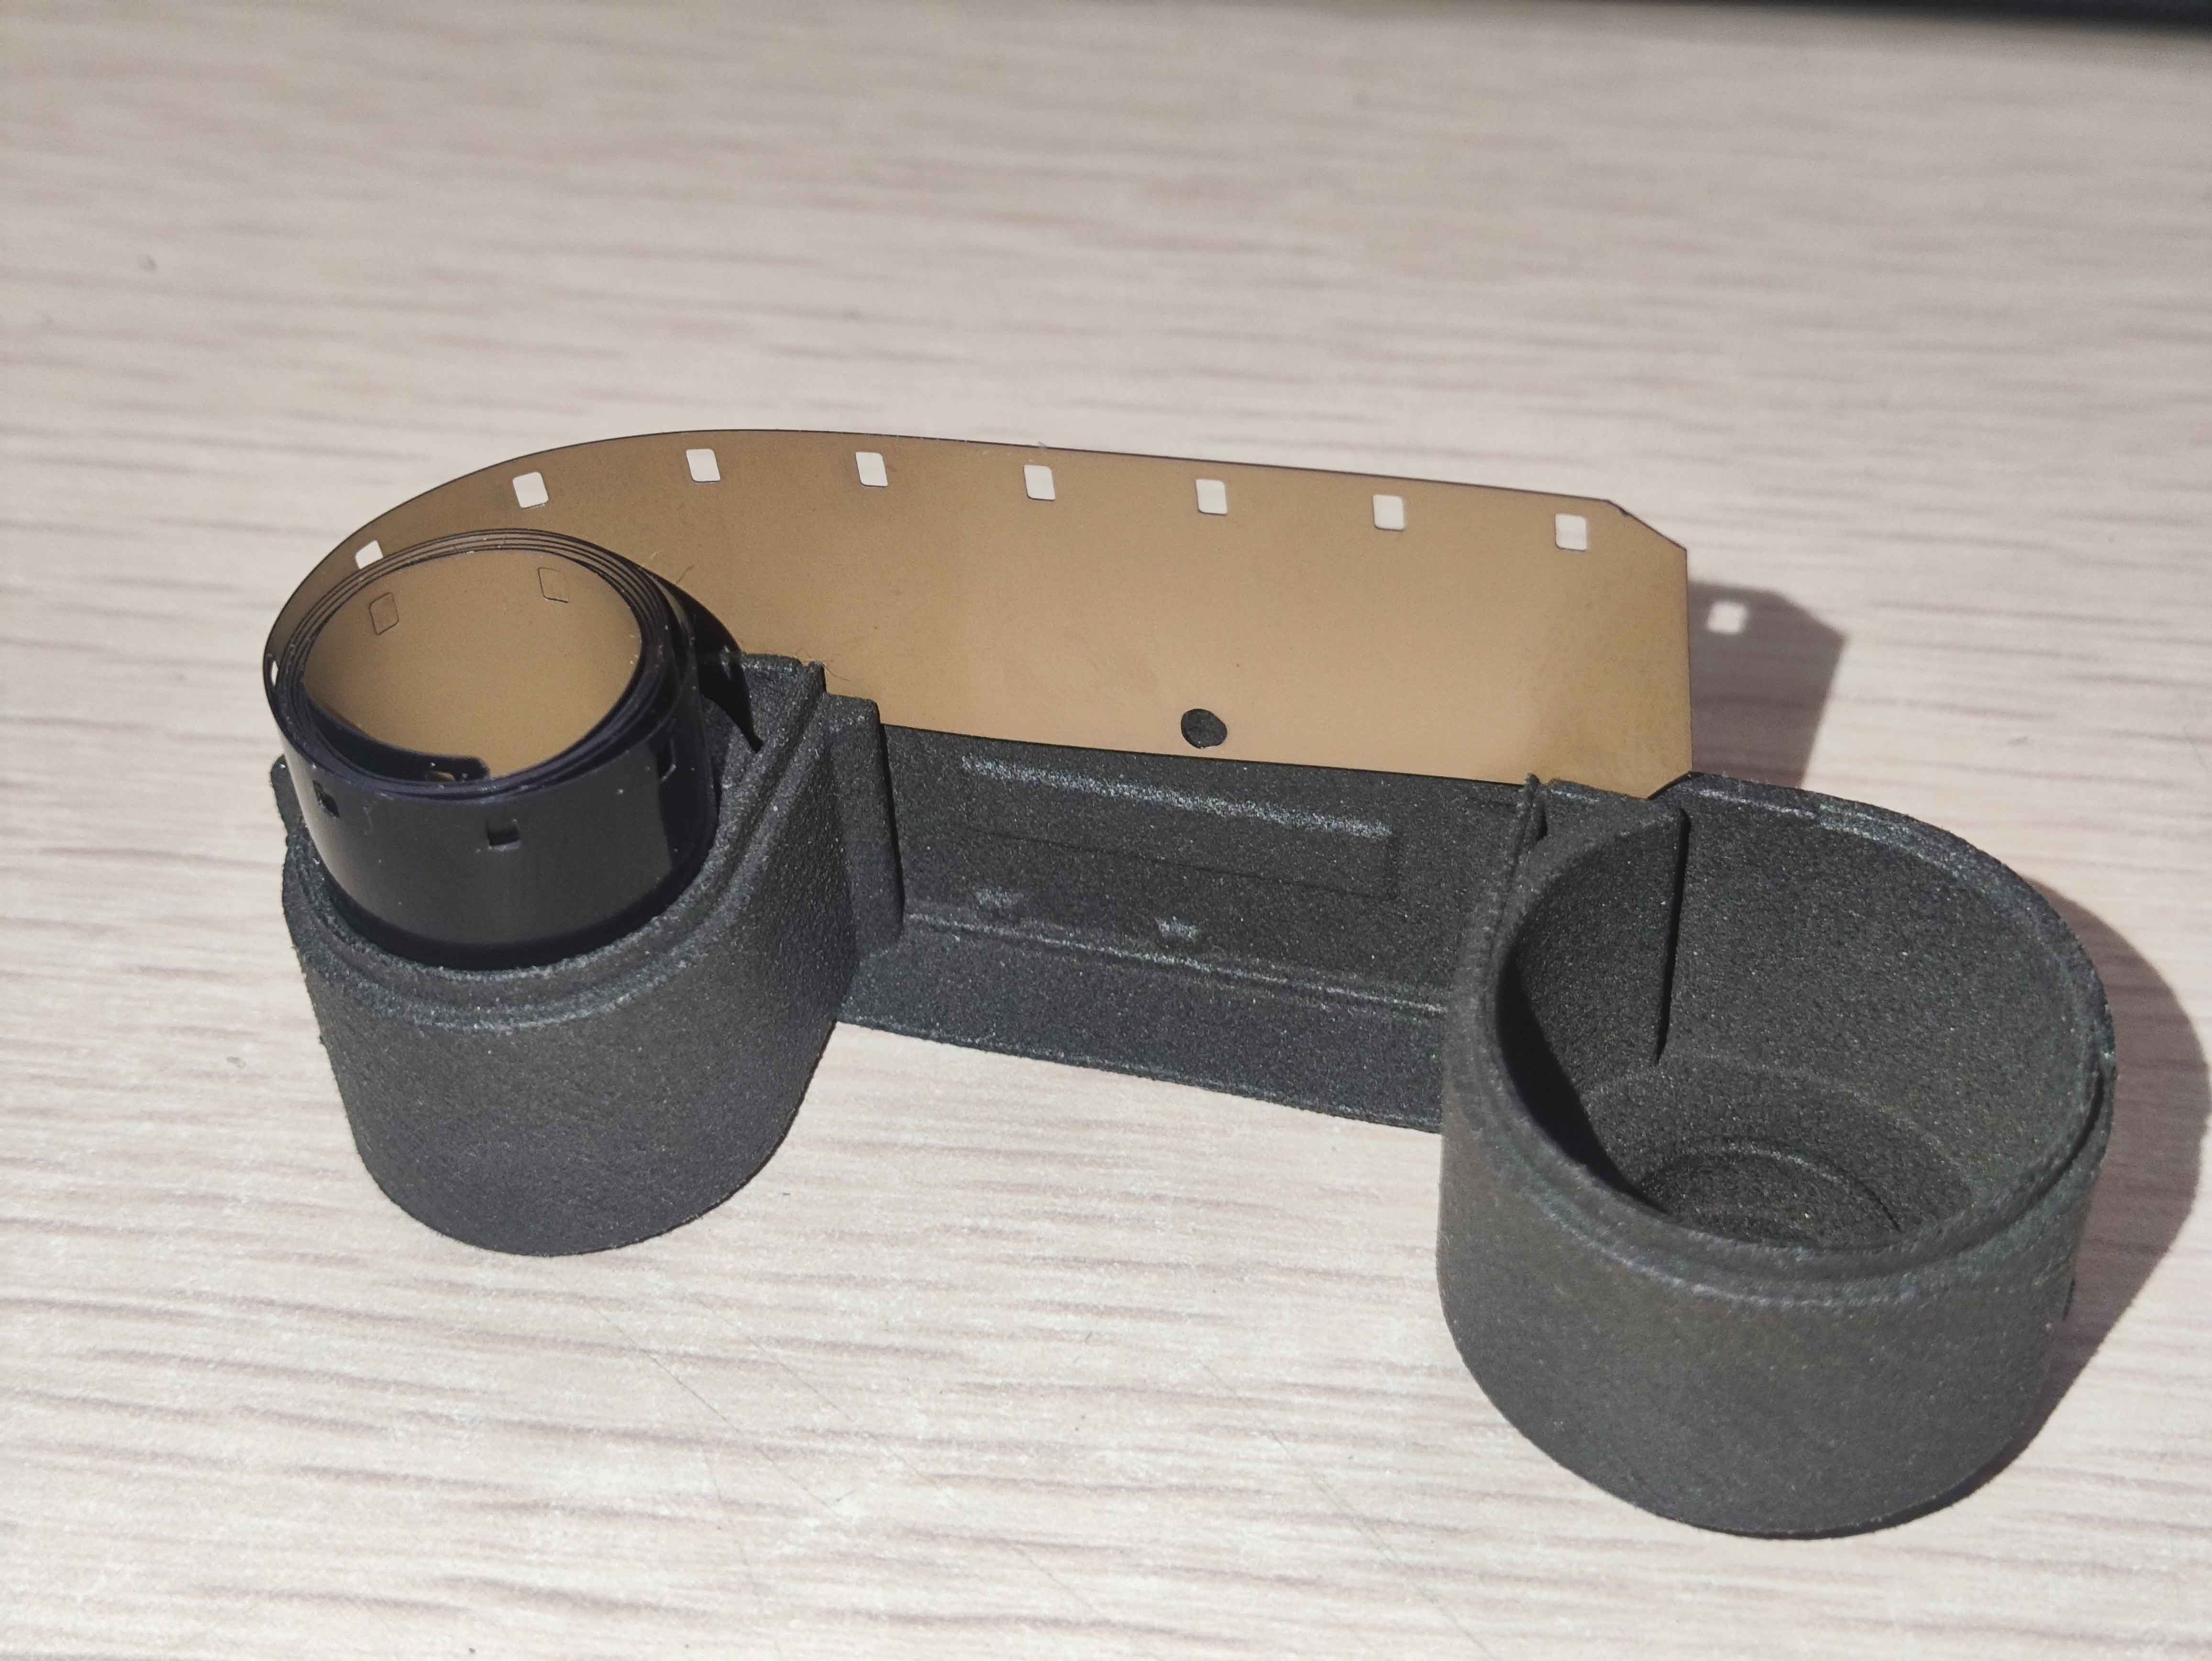
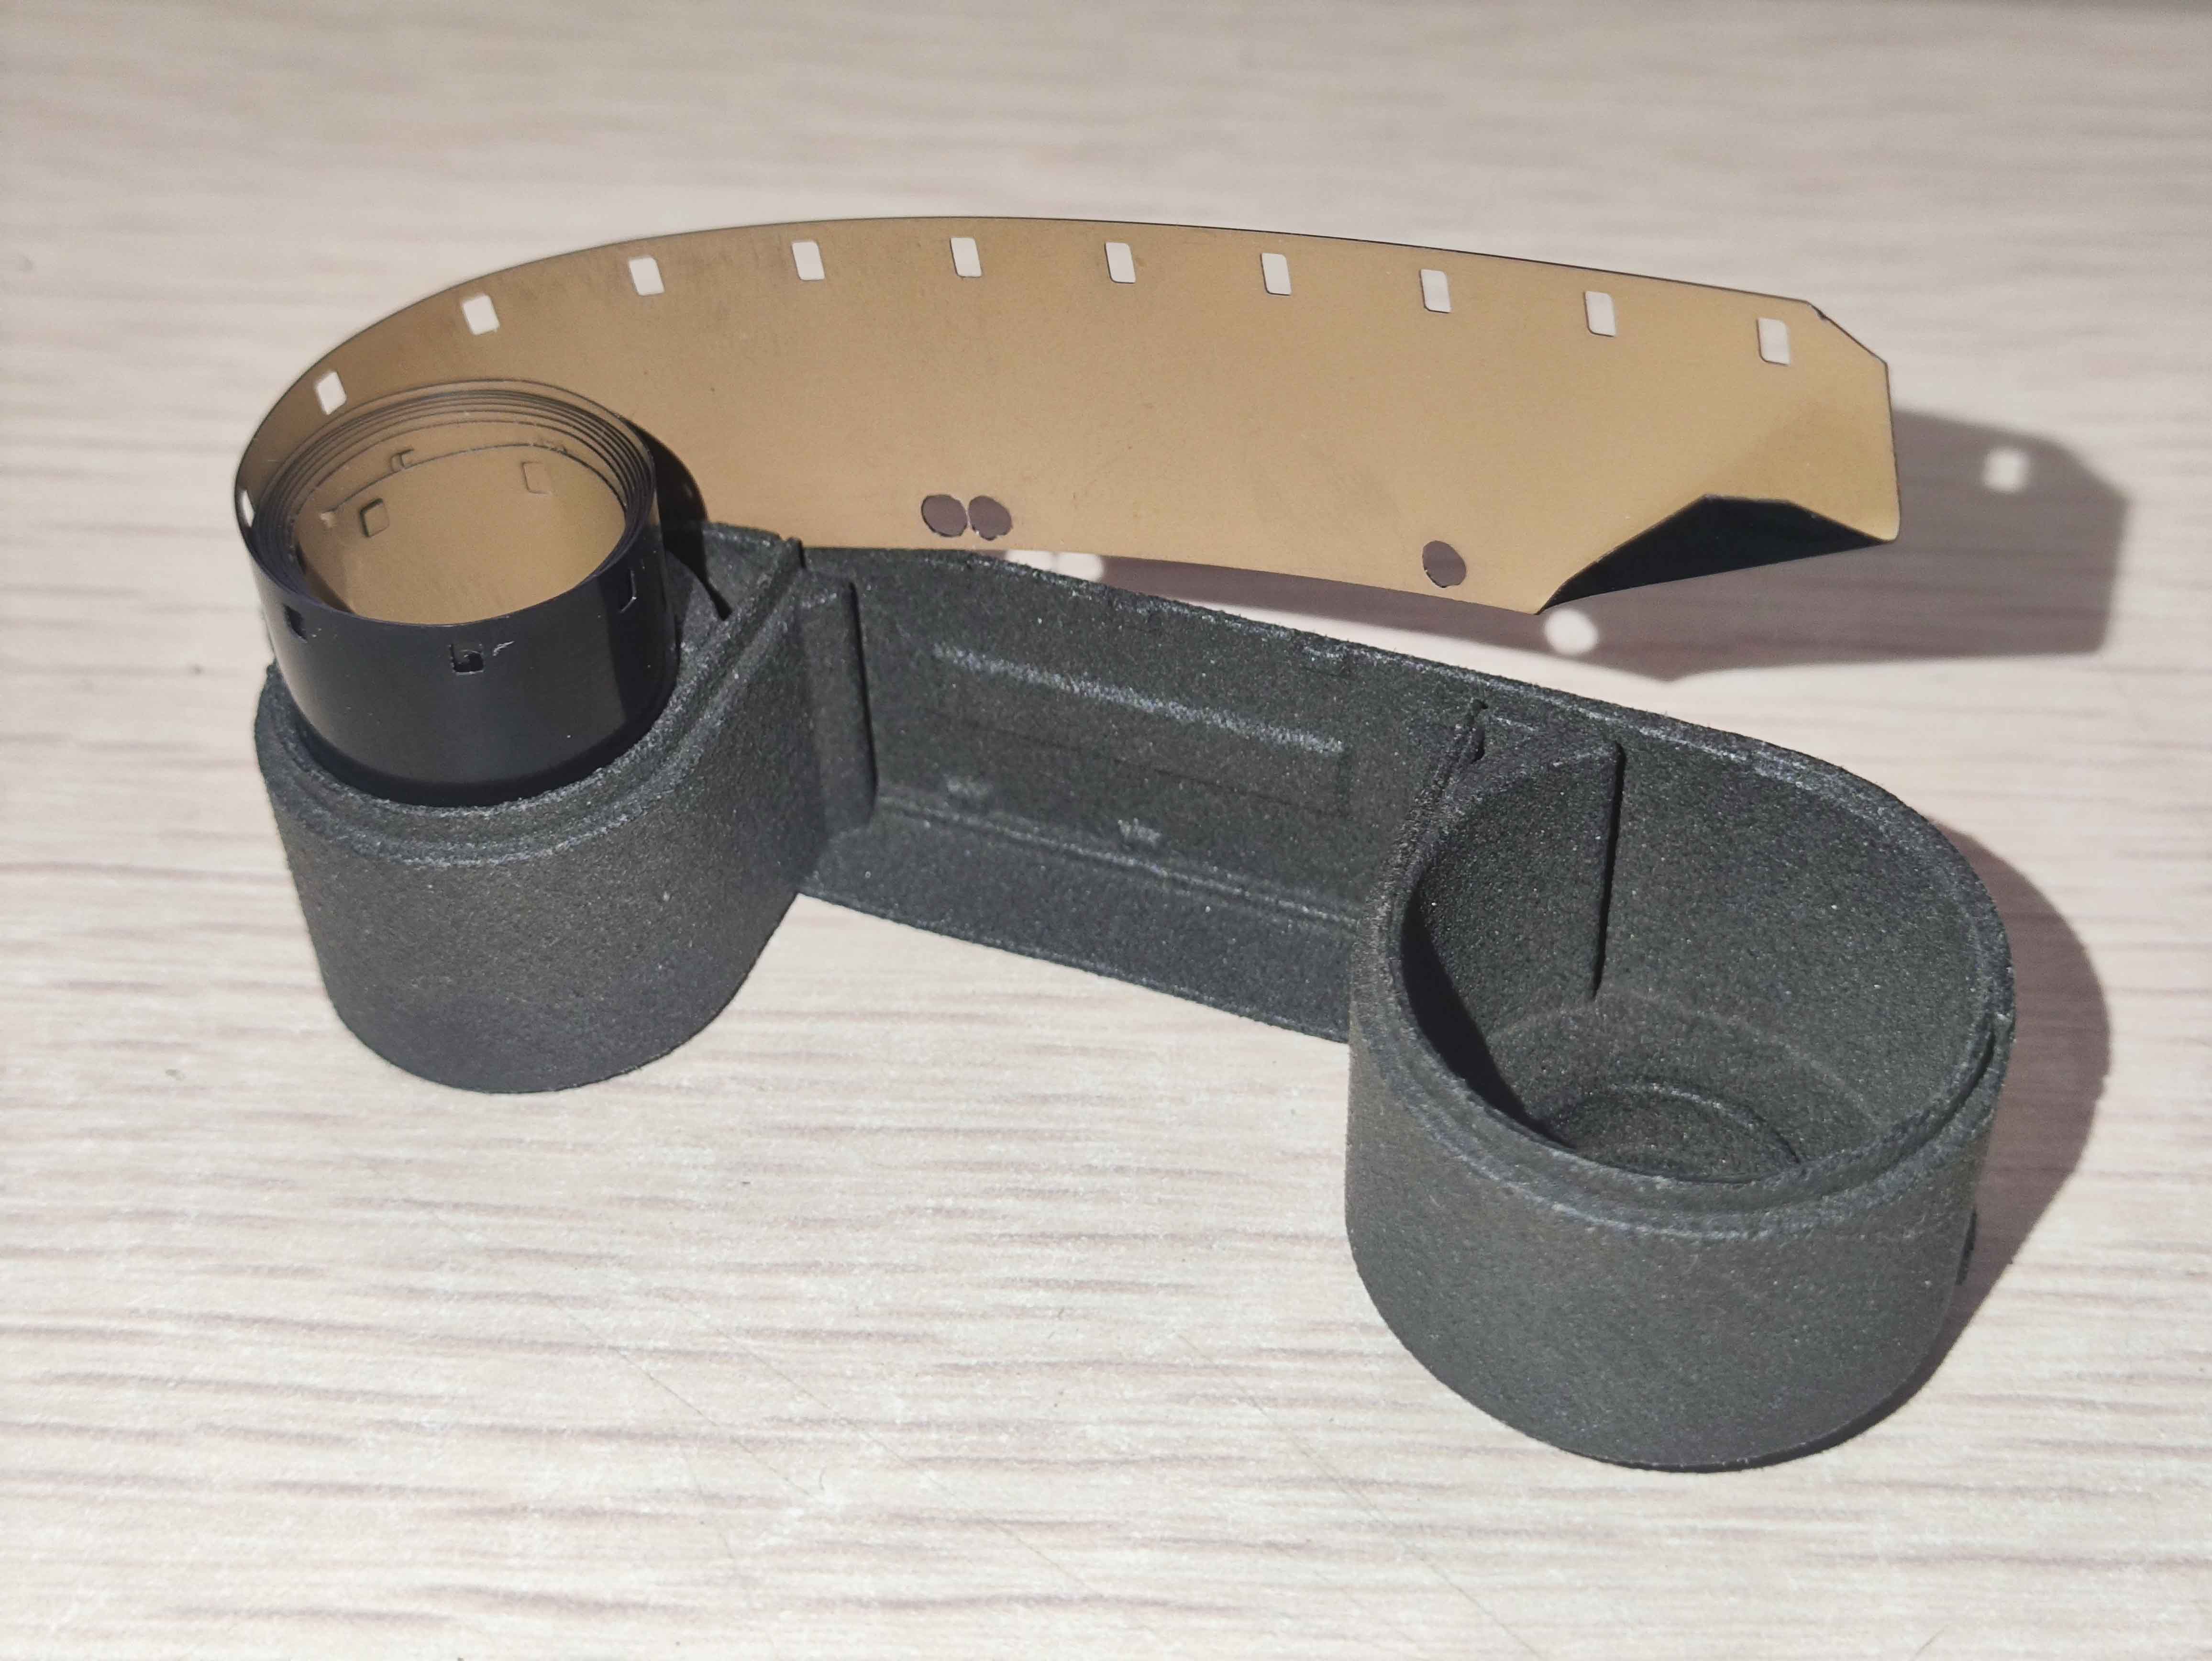
Fold the lower side of the film leader as shown in the image to reduce the width of the lower side. Then fold it again by about 6-8mm, corresponding to the depth of the groove on the spindle. Special Note: Do not fold the corners too sharply, as the film may break.
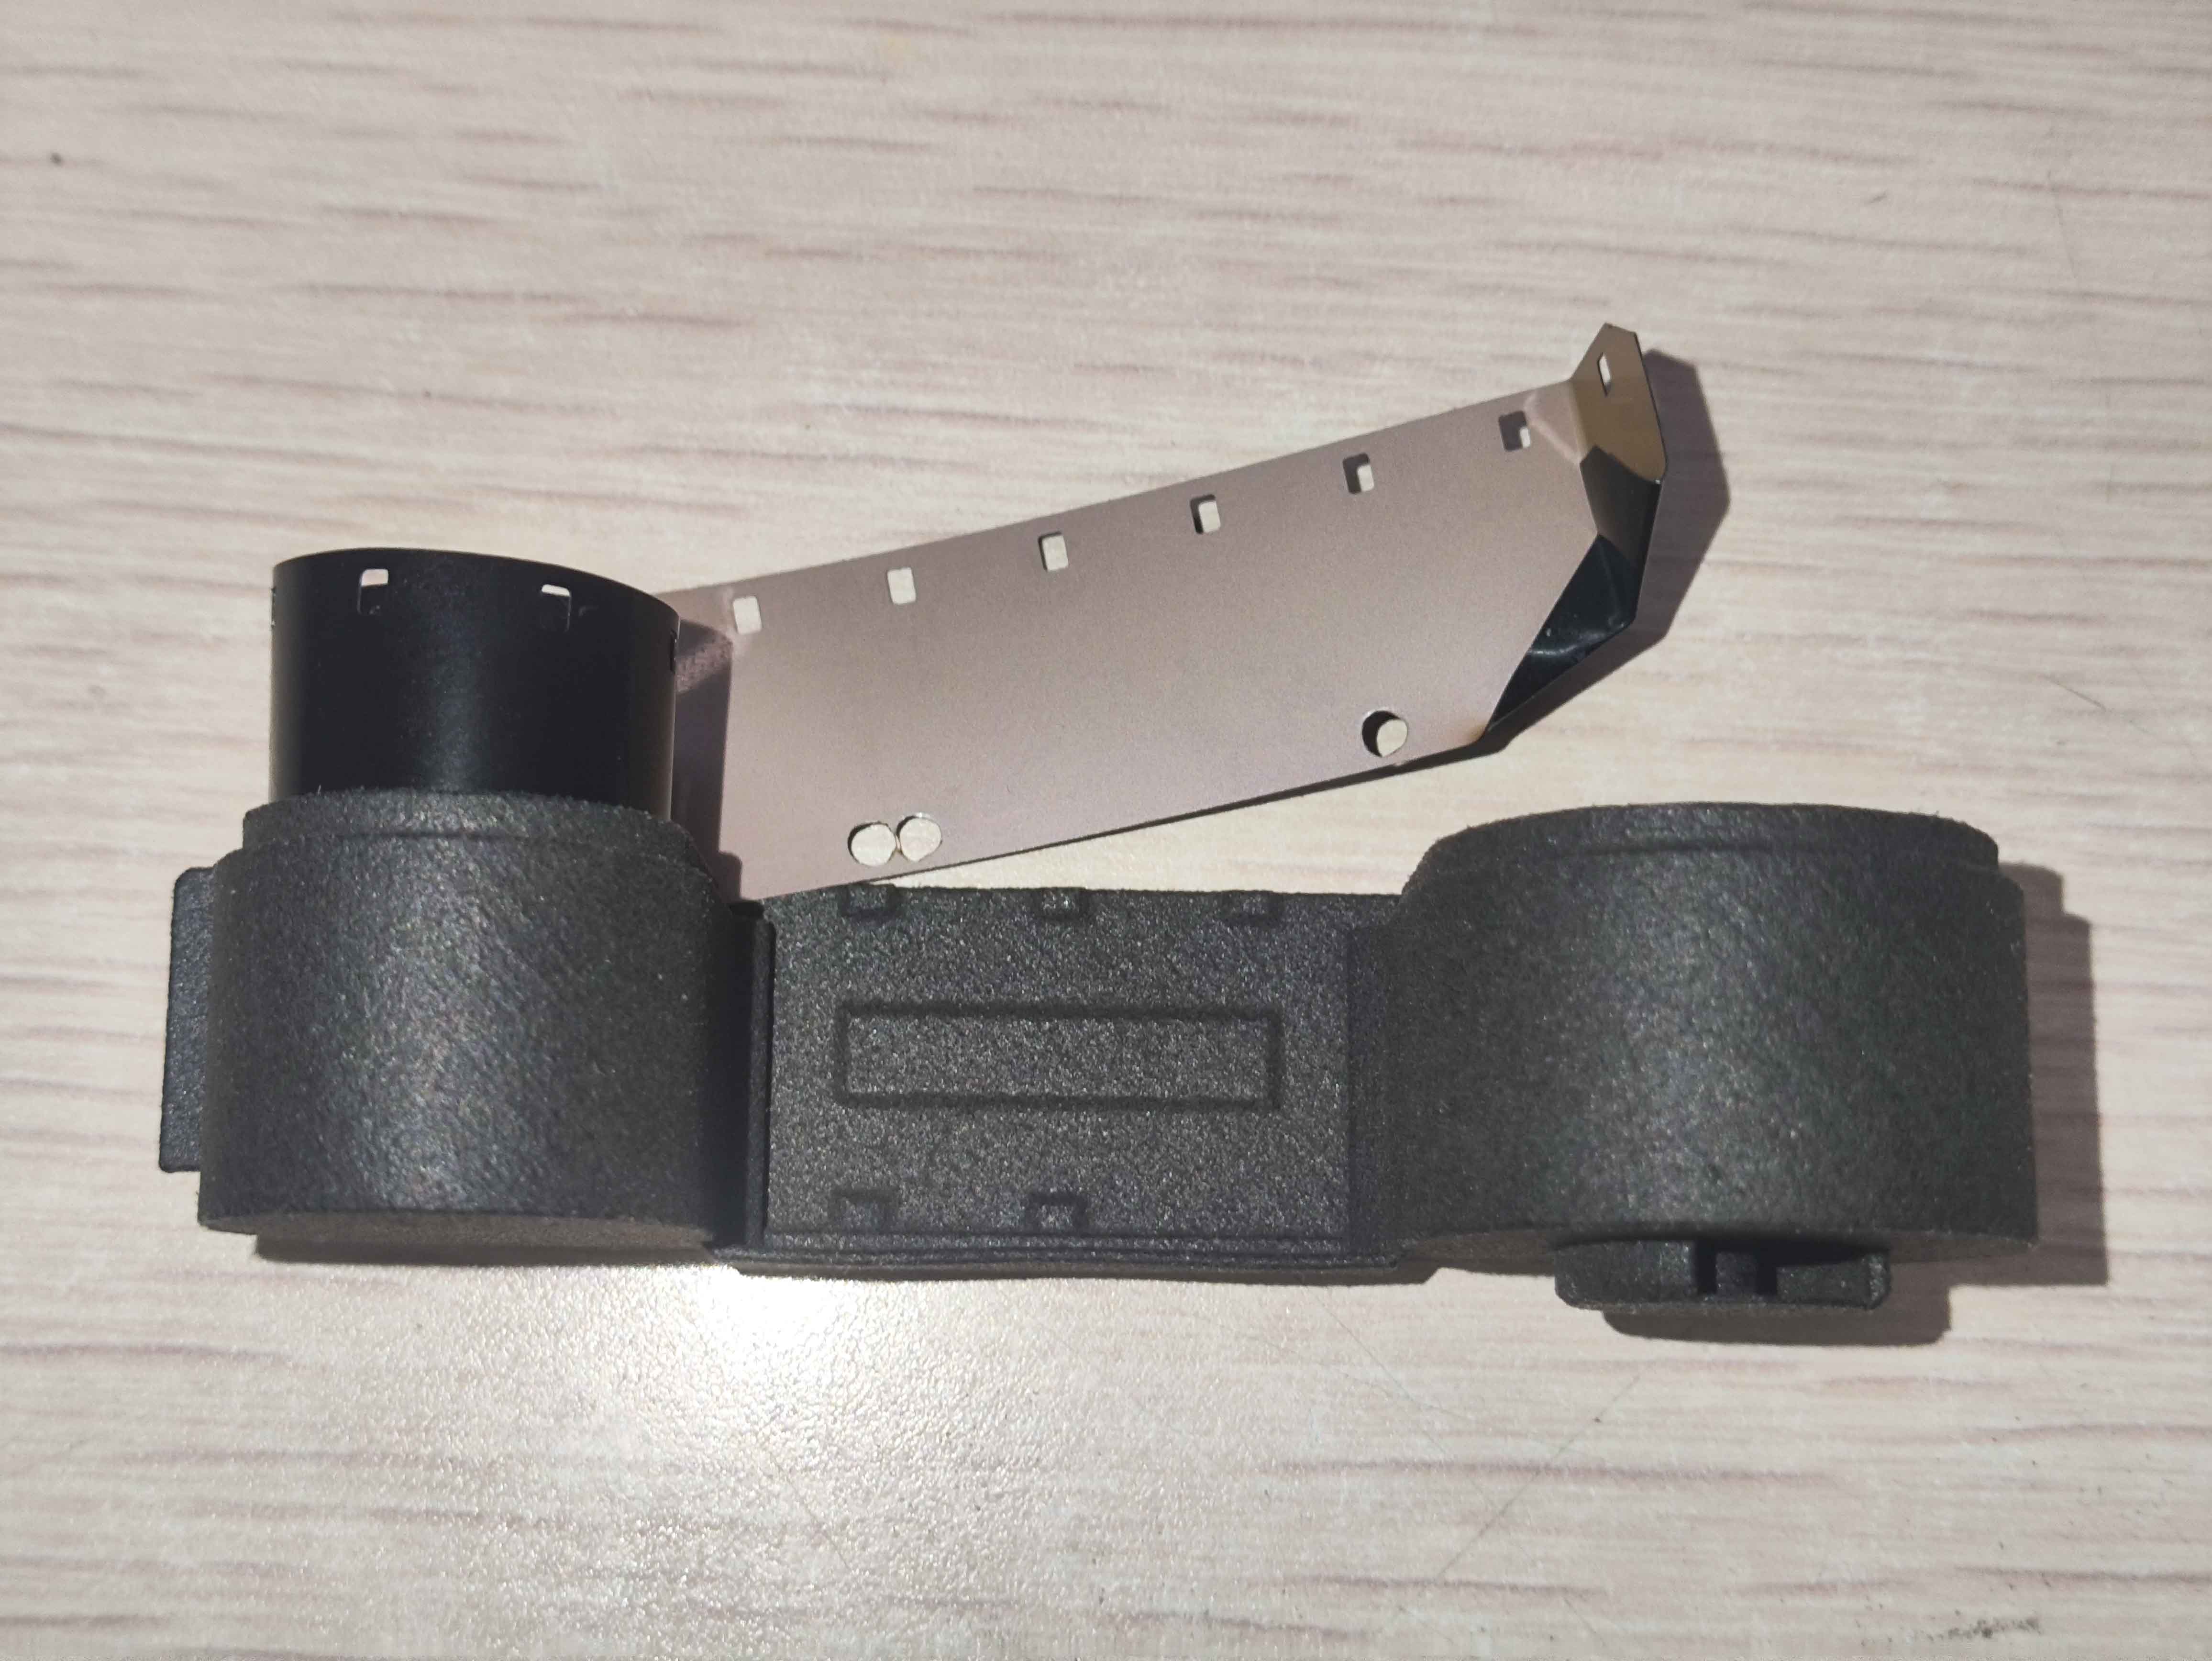
3. Insert the Film Leader into the Spindle
Insert the folded film leader into the spindle.
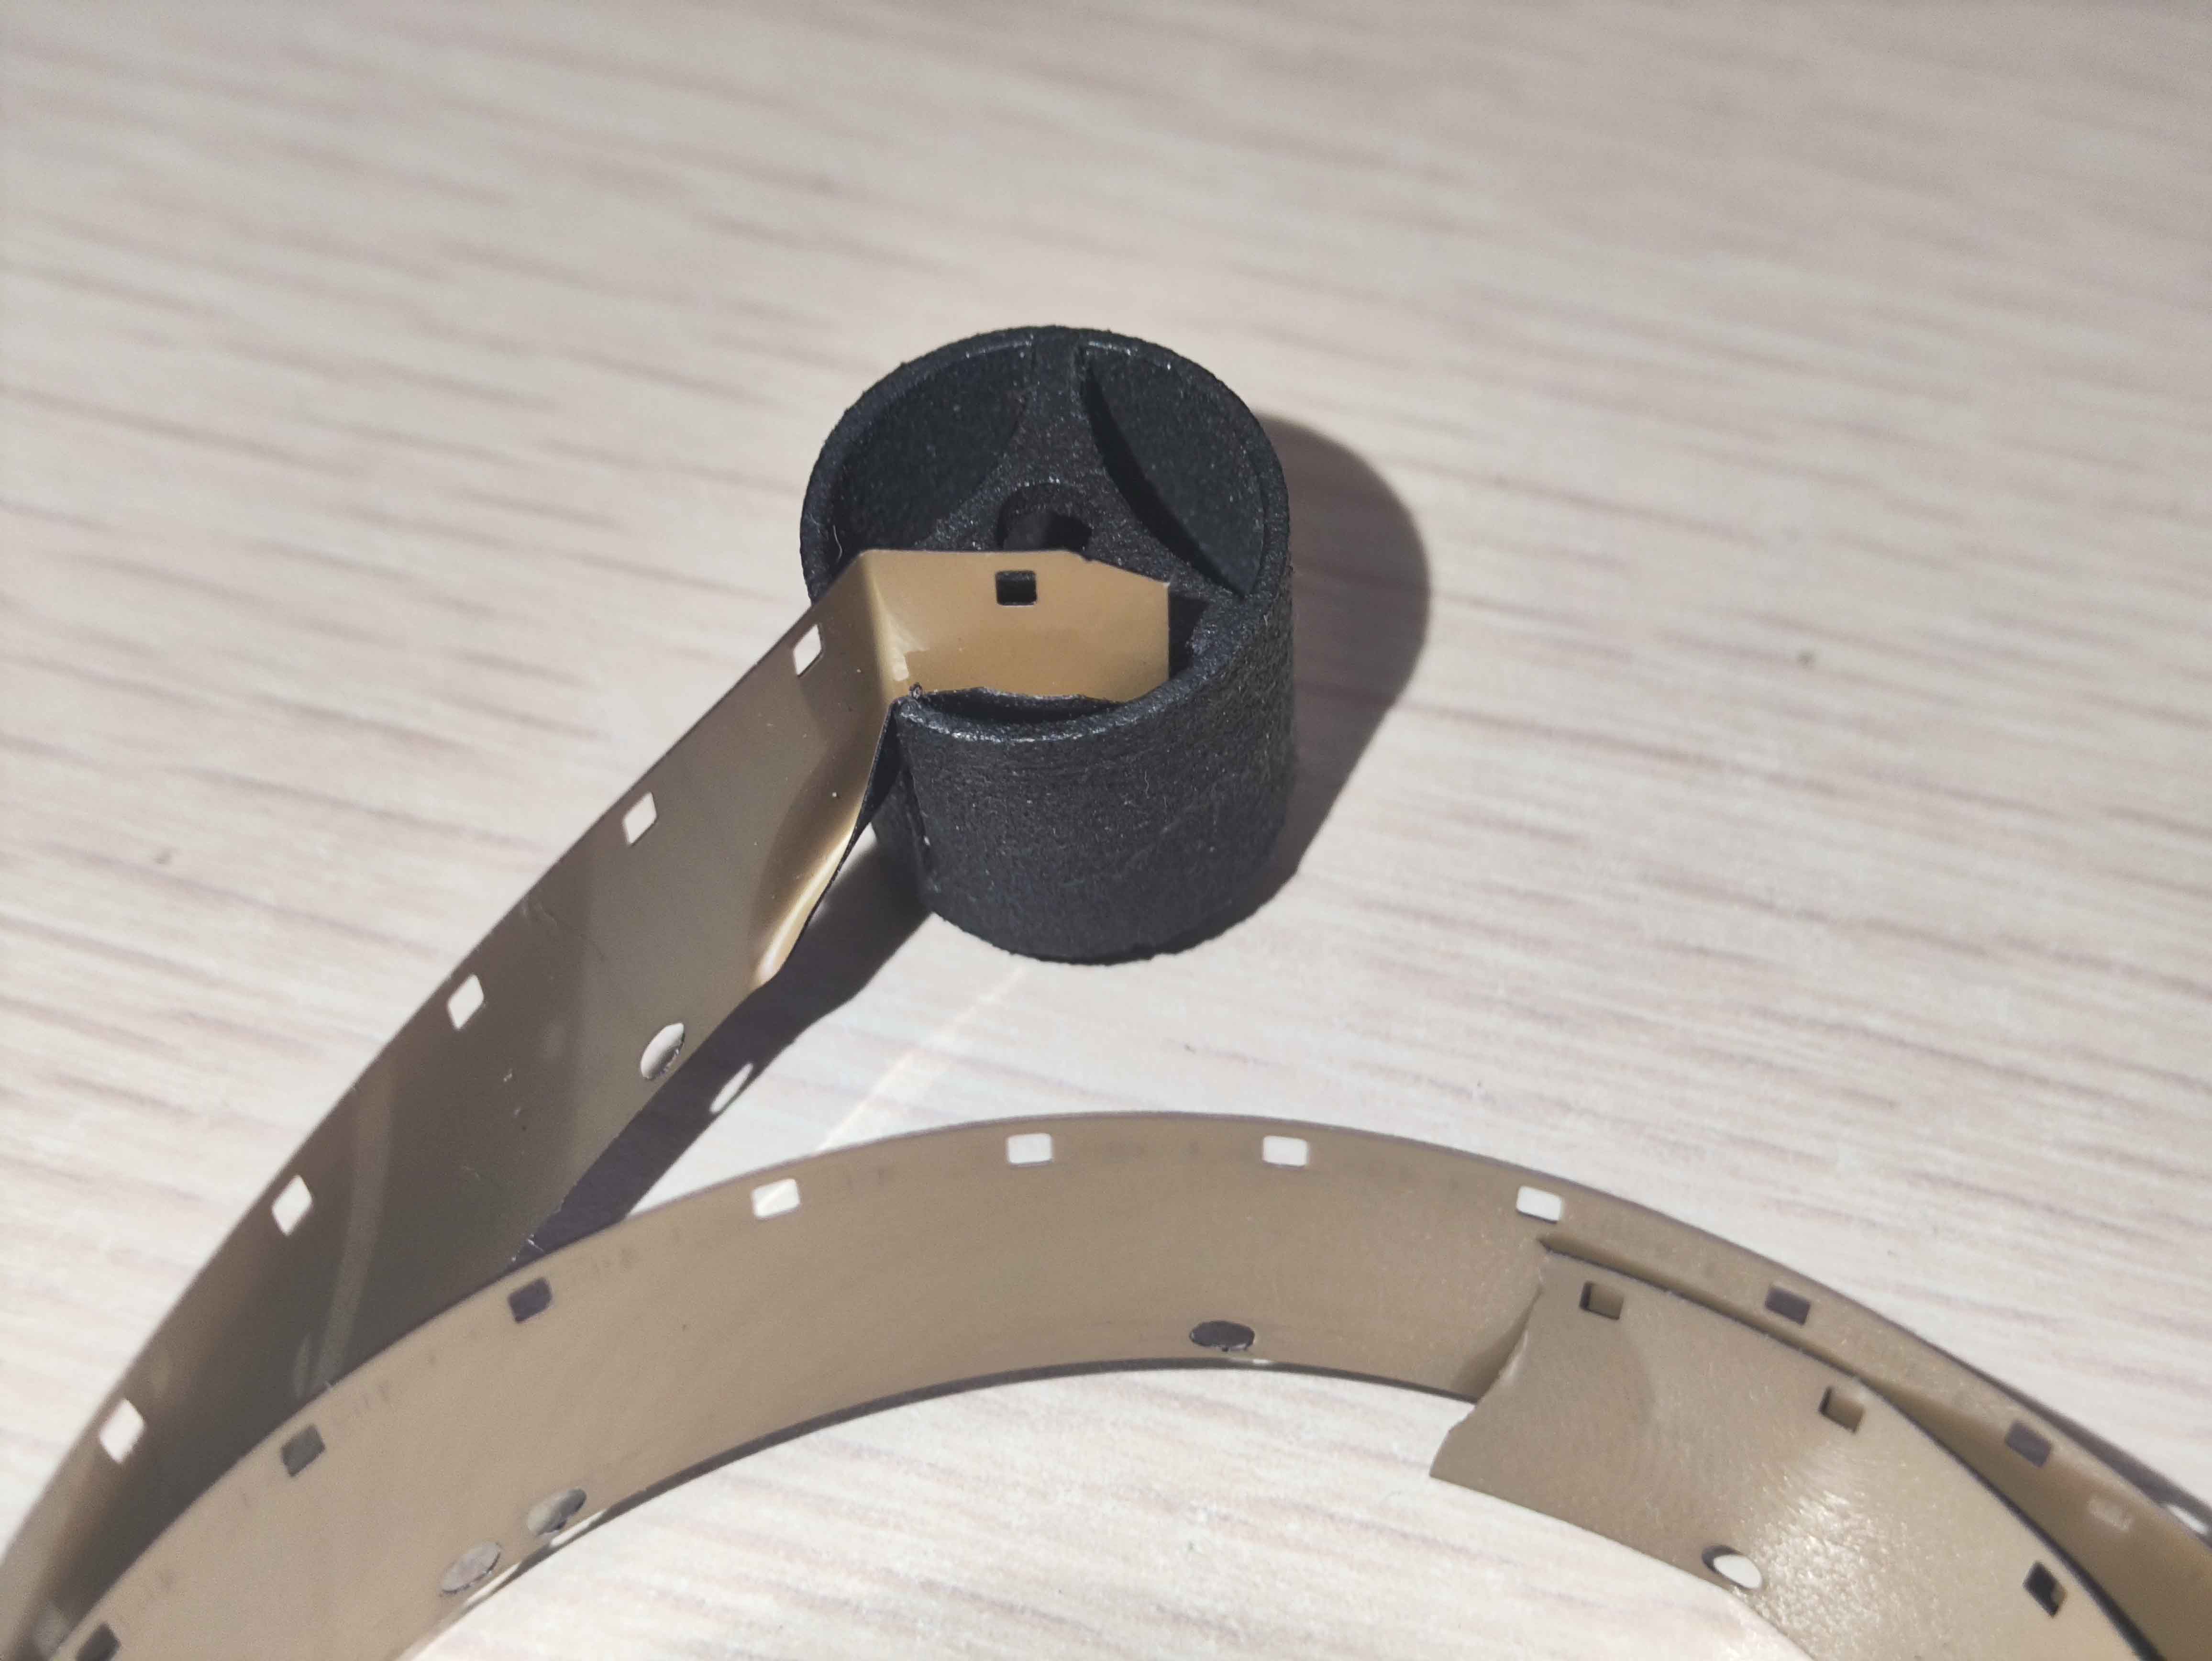
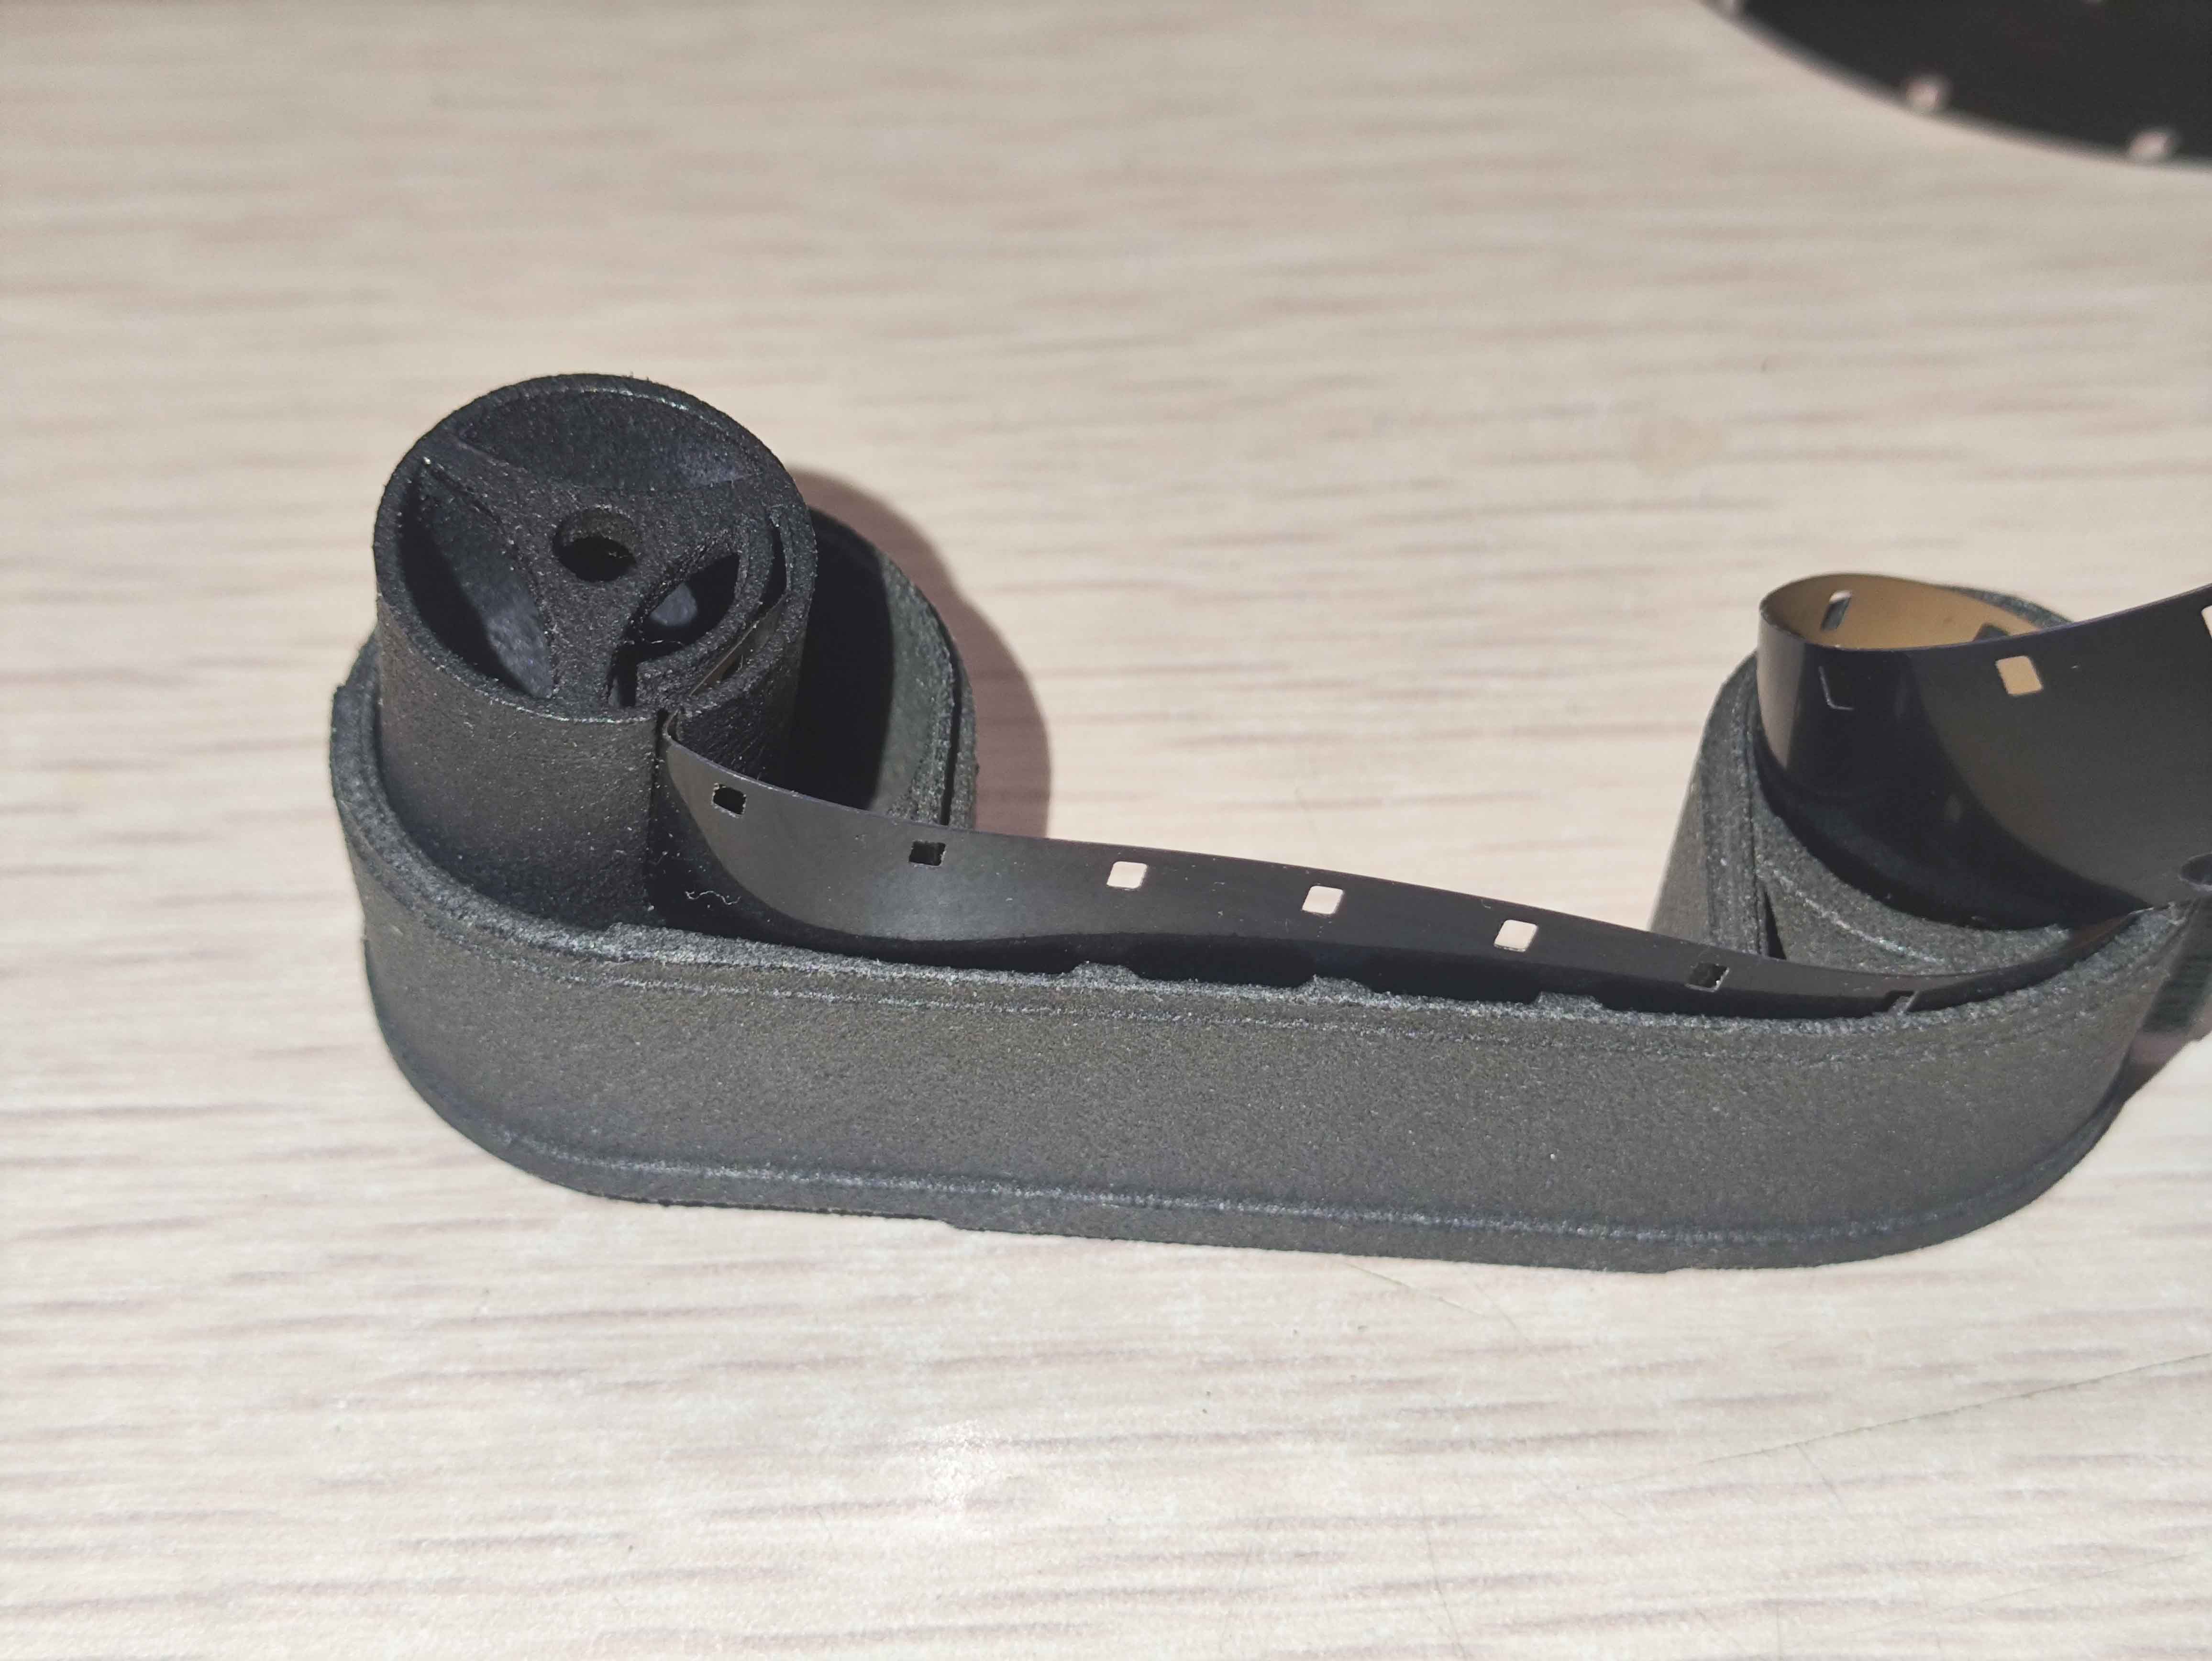
4. Roll All the Film
At this point, your film should be completely unrolled (even if it isn’t, the diameter won’t allow it to be directly placed into the cassette on the unexposed side), so you need to roll the film in.
It is recommended to also fold the tail of the film by about 3-5mm, so that when you reach the end, you will feel a noticeable change in winding resistance.
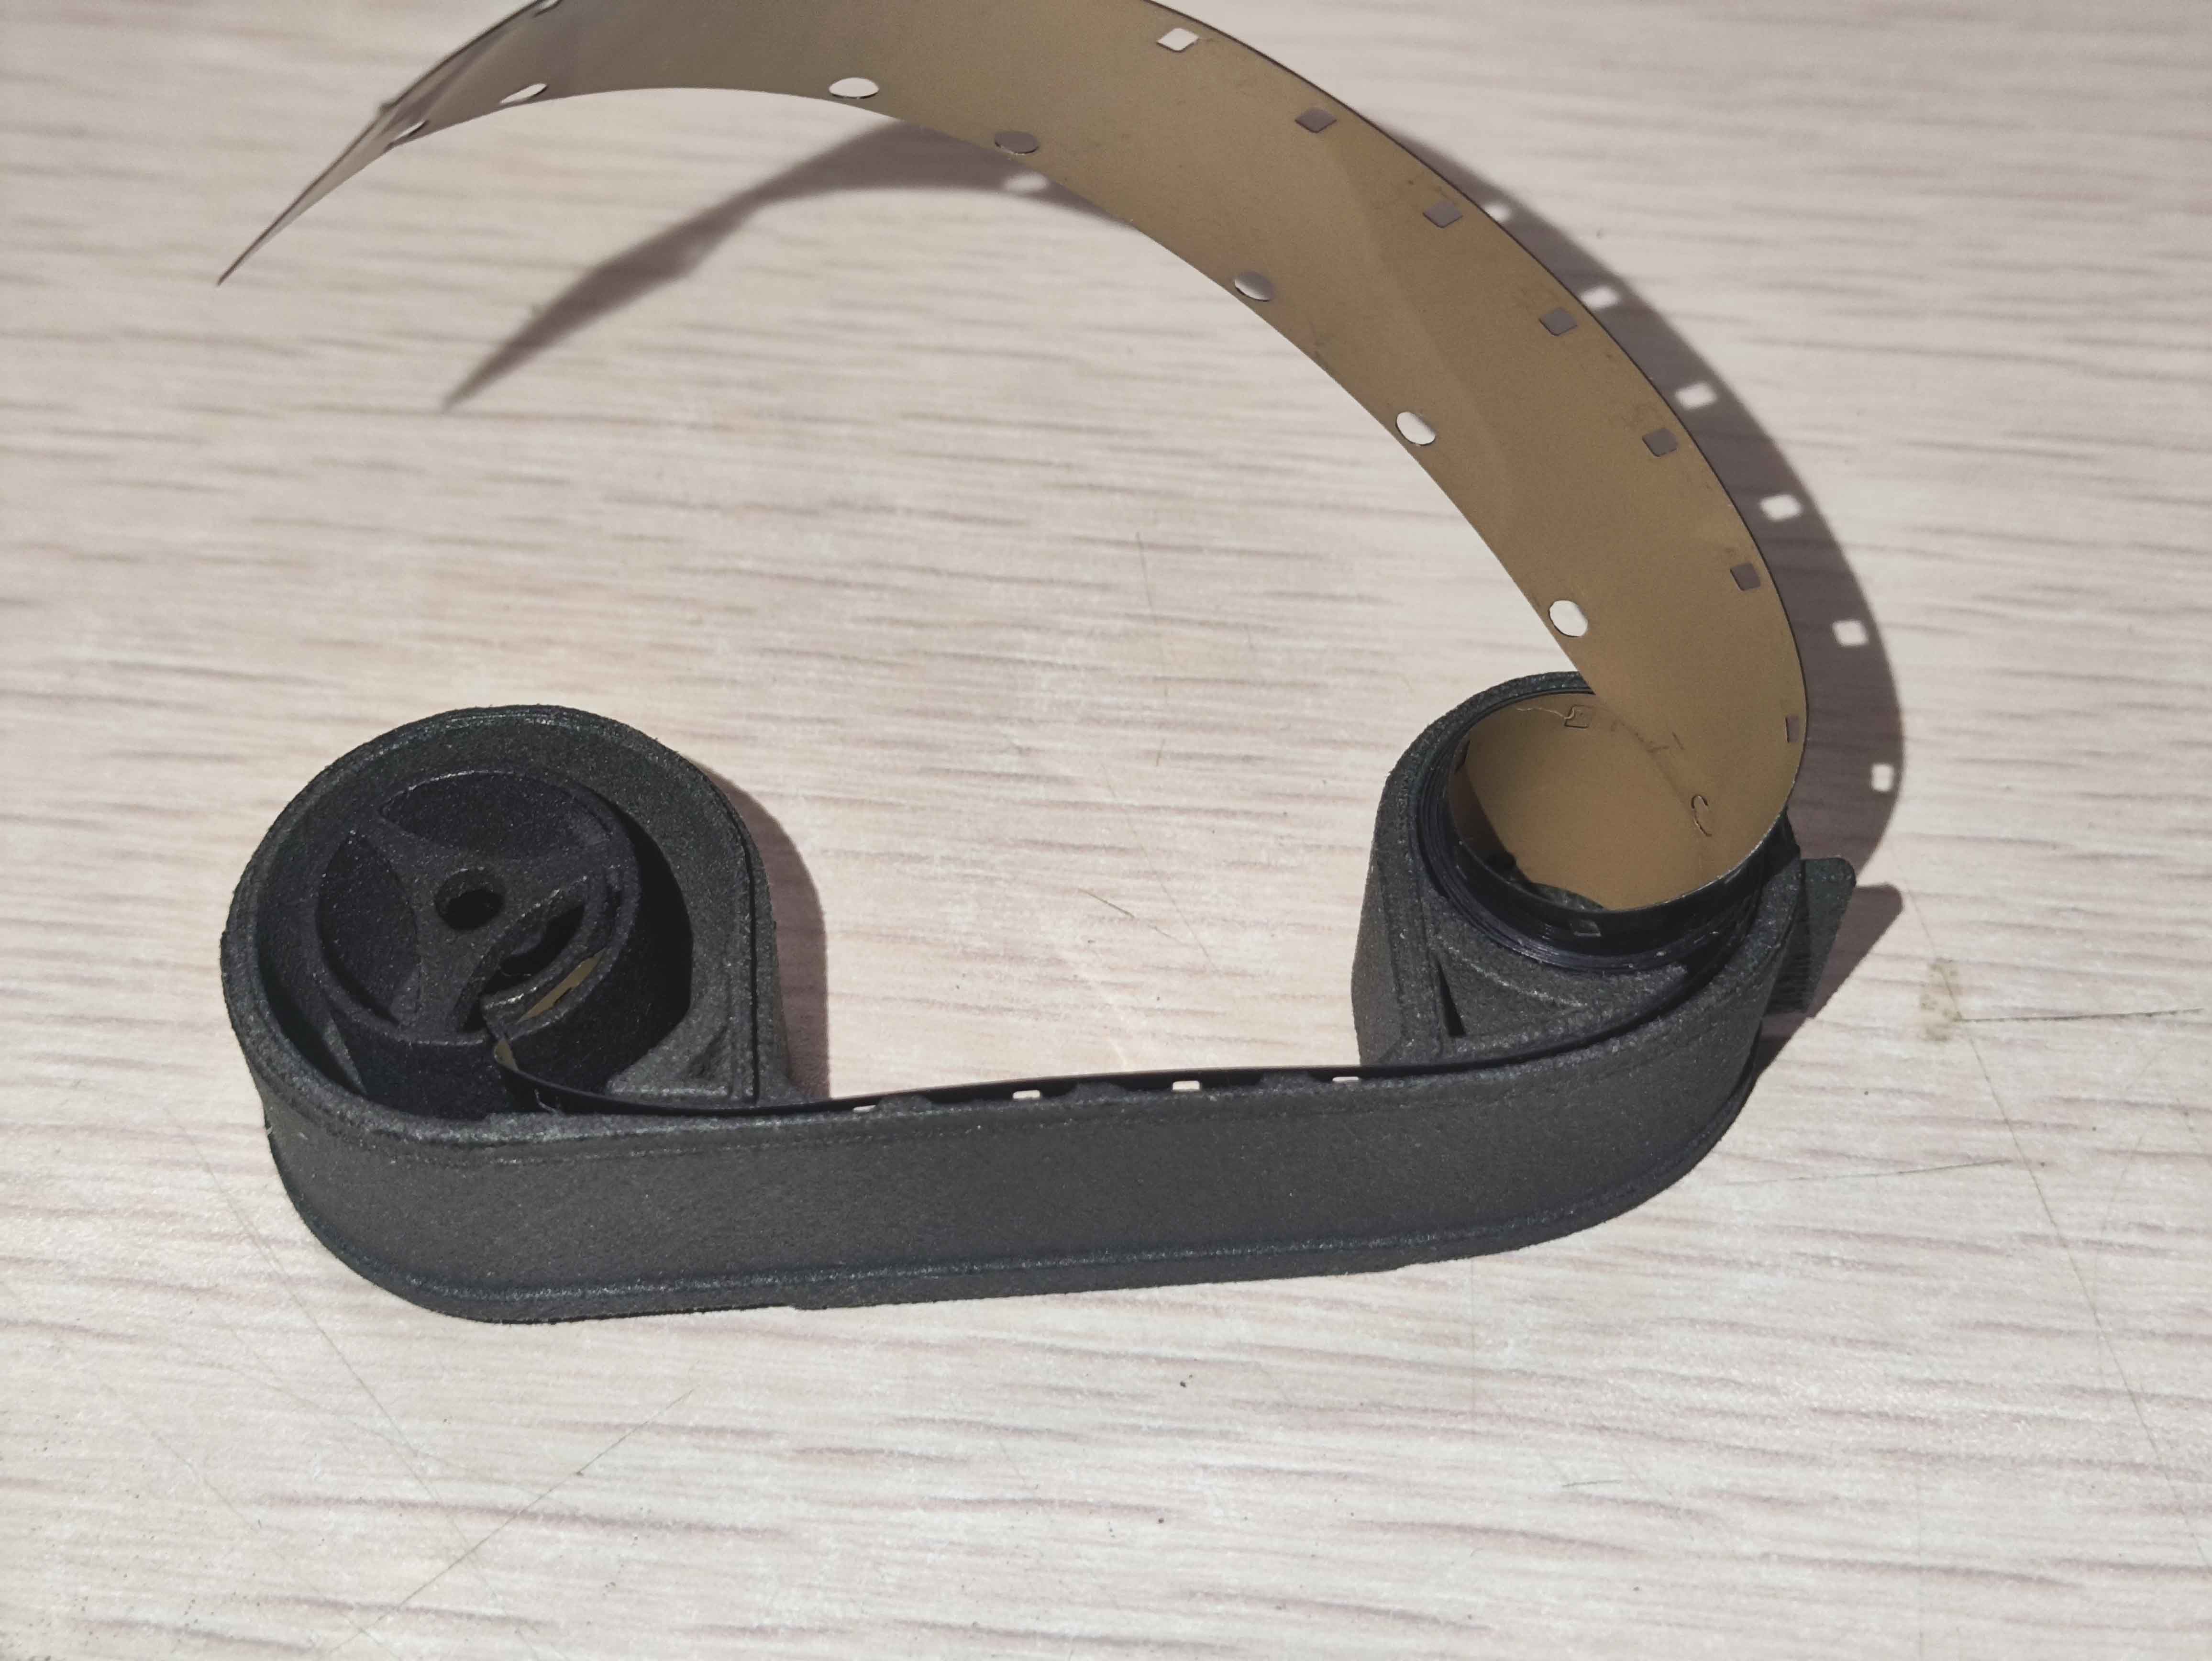
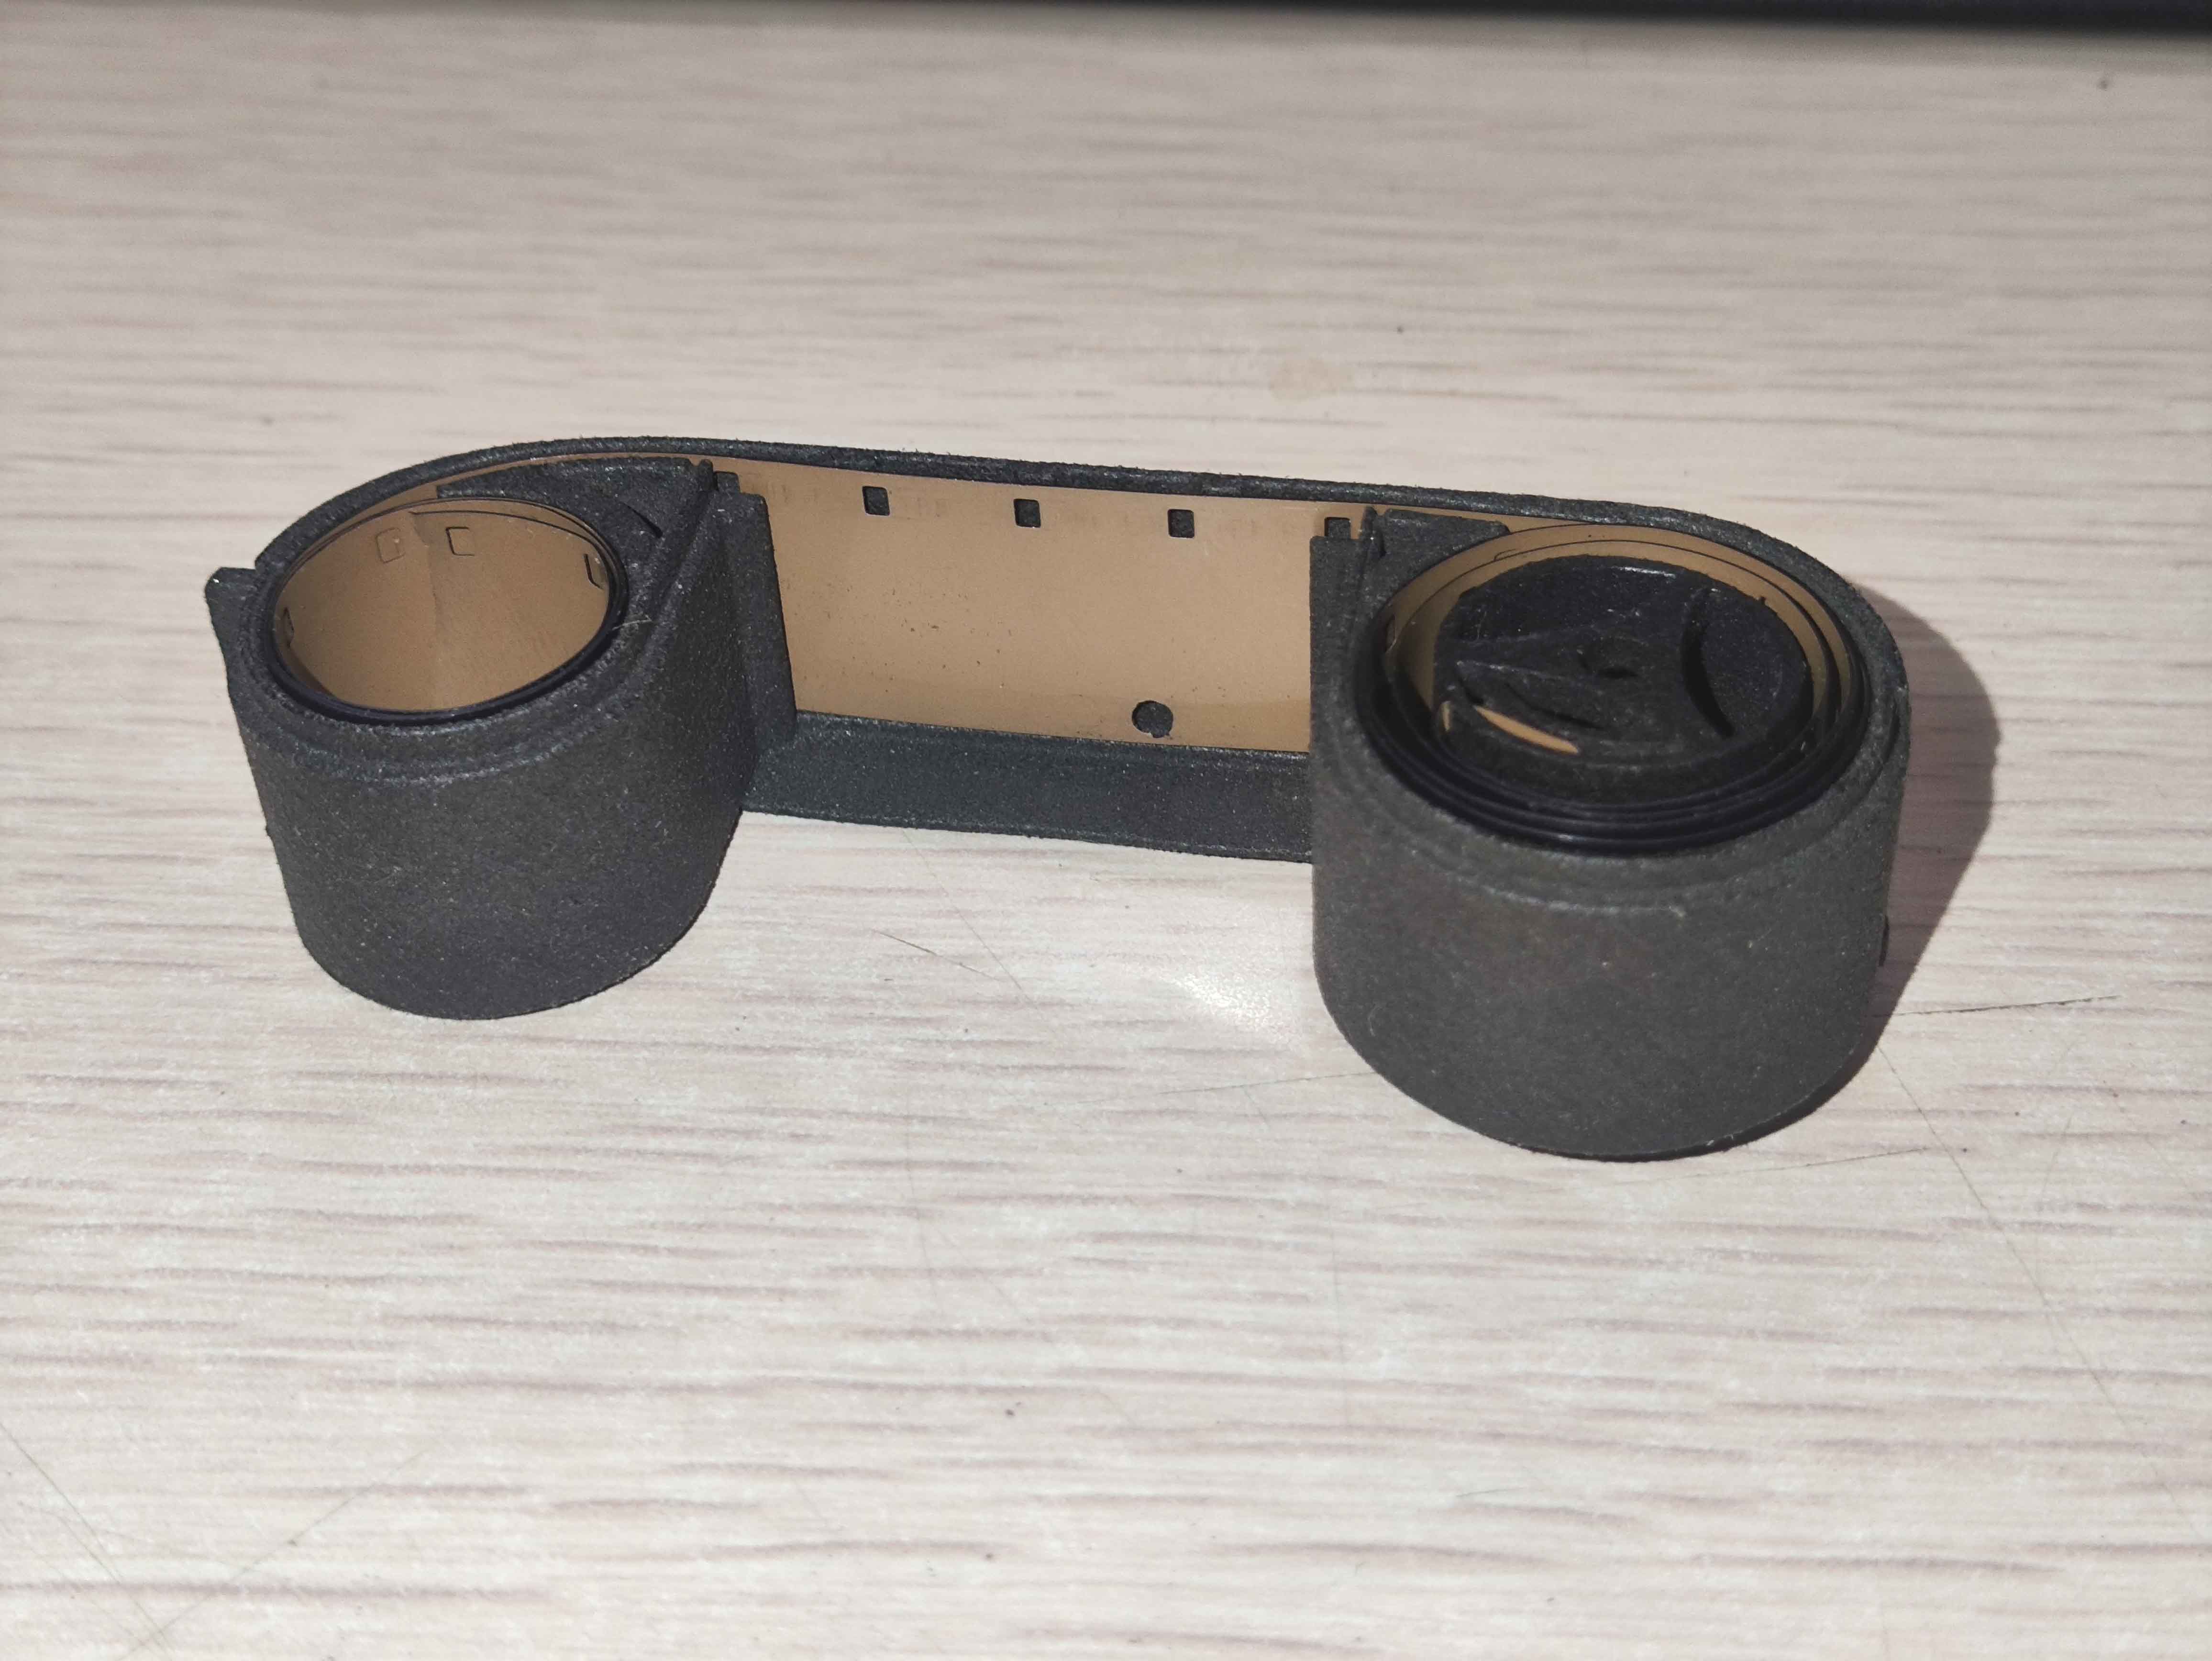
5. Close the Cover
Once rolled, you can close the cover.
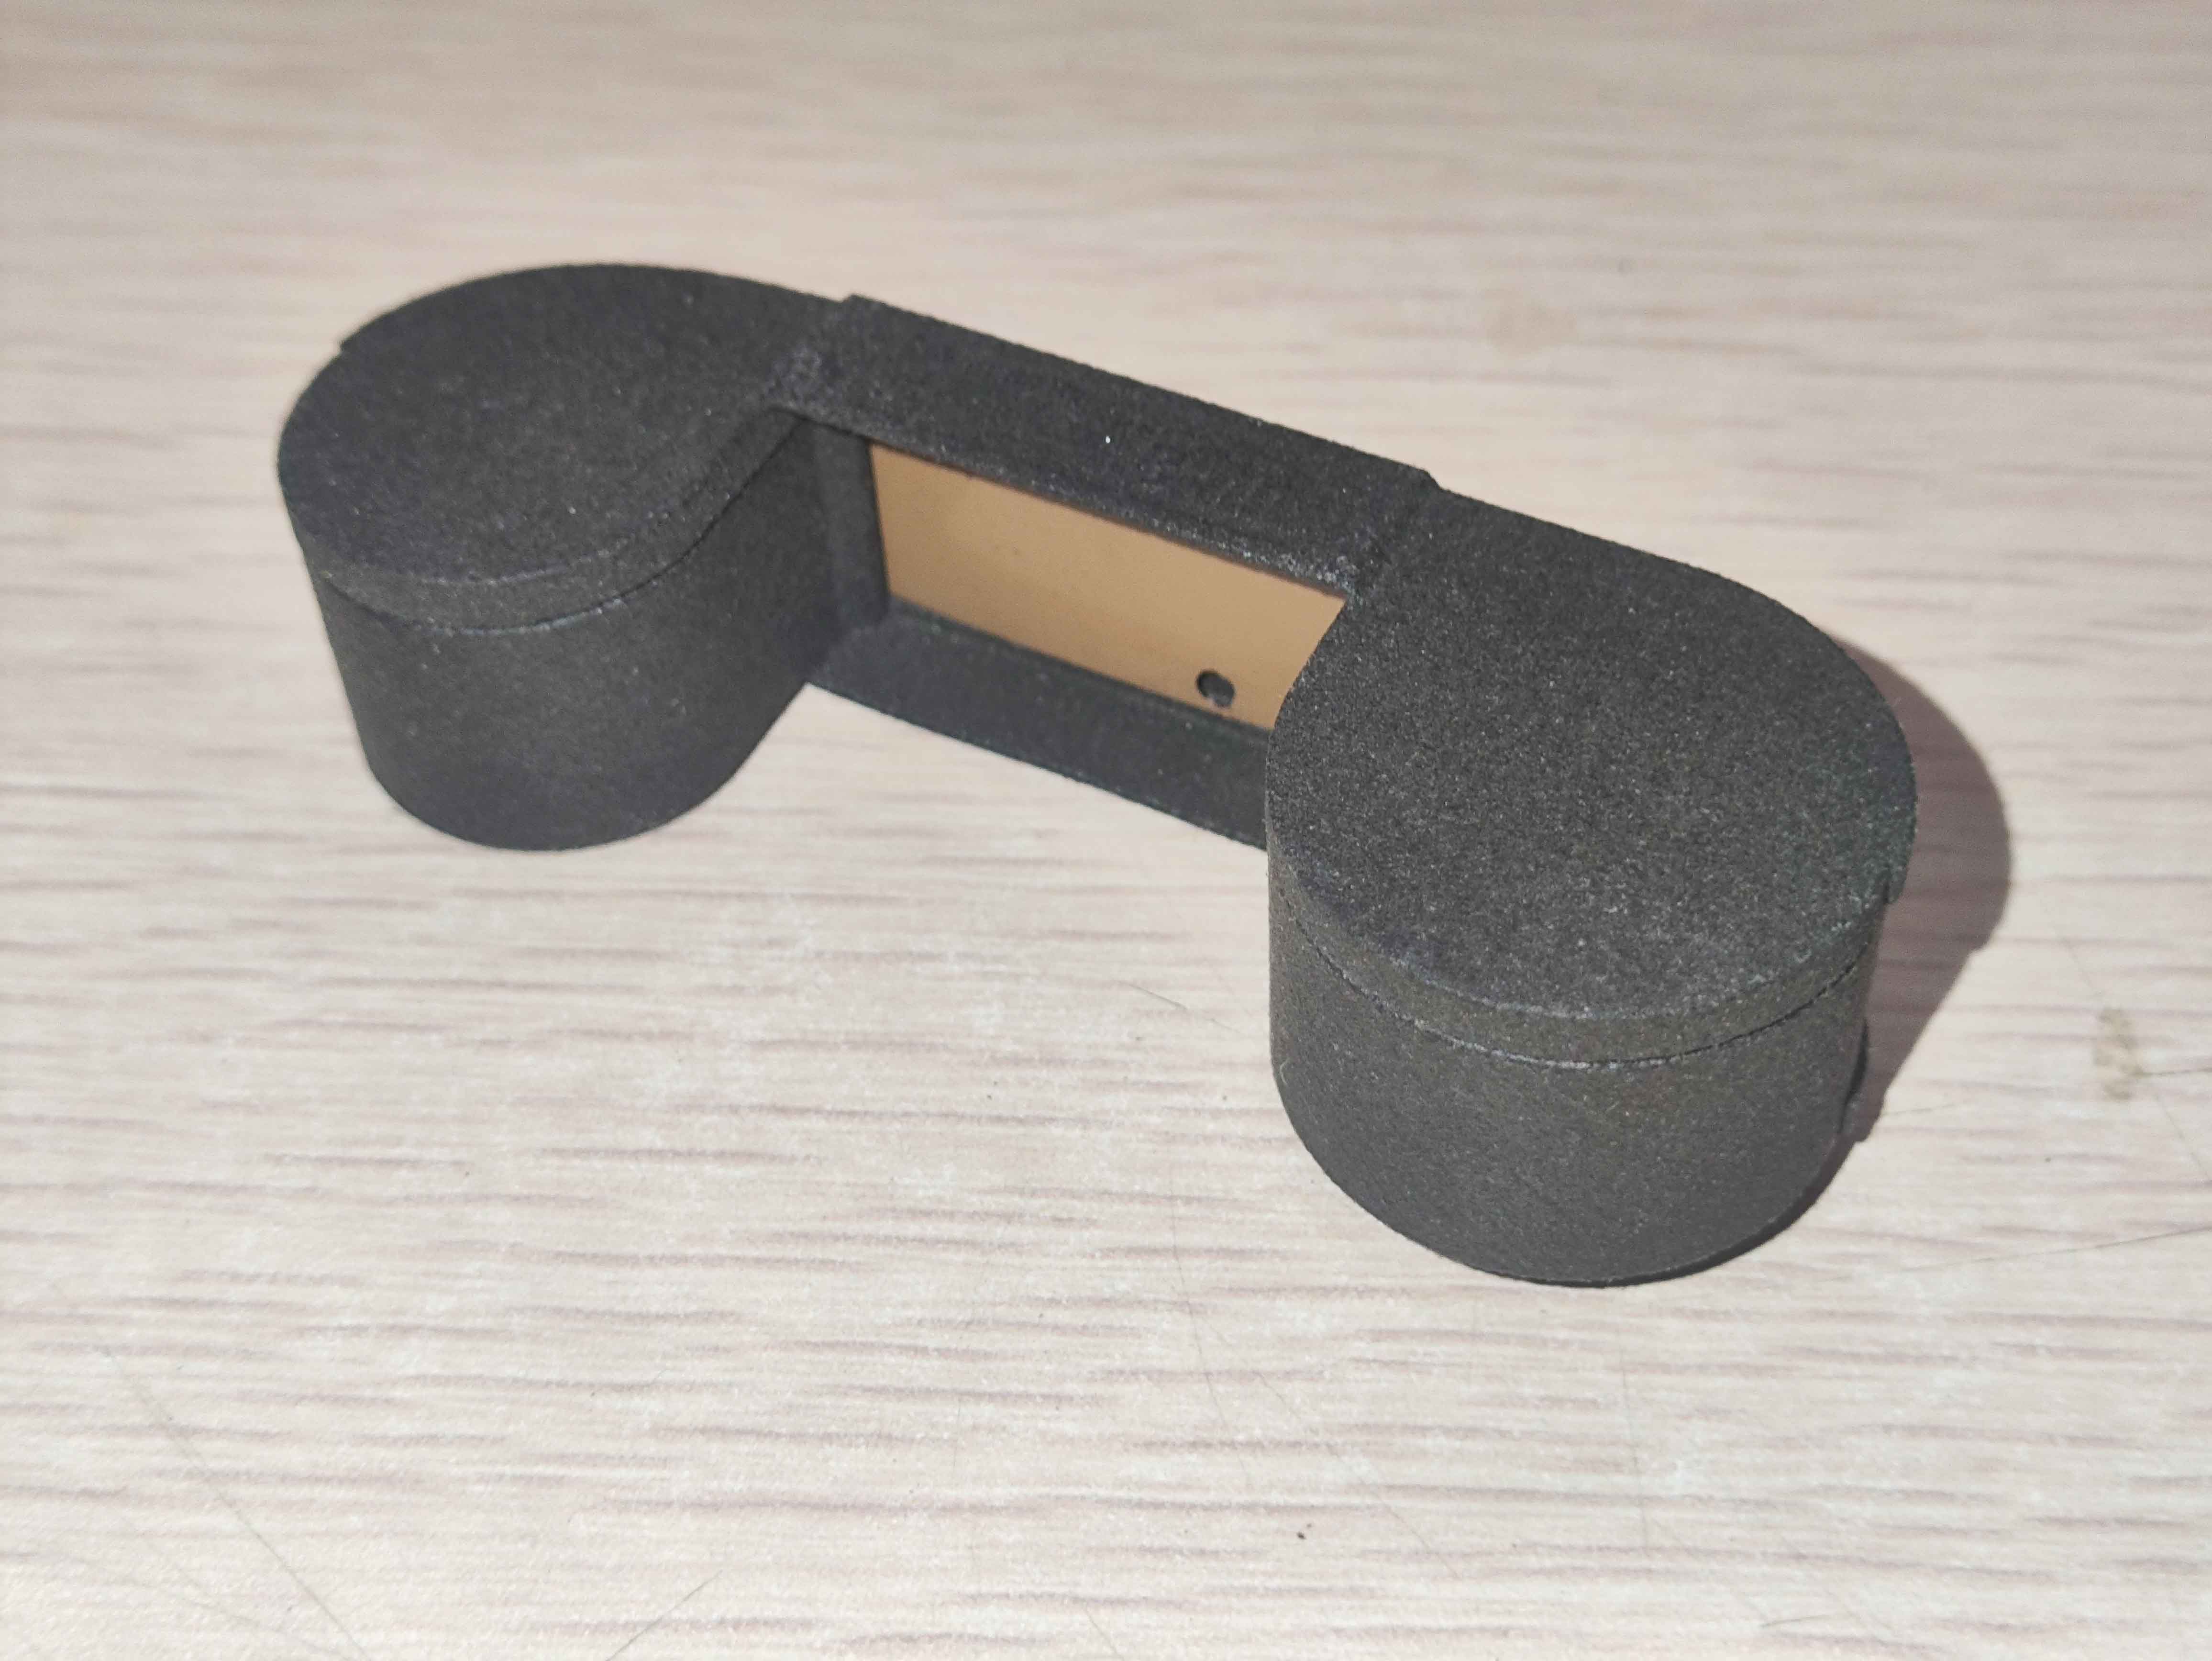
6. Finished
Handle with care. If you wish, you can tape the interface to prevent it from coming apart, and then you can safely take multiple rolls out with you.
Reminder
Never rely on the cassette for long-term light protection. Whether it’s Kodak or Lomography’s original 110 cassettes or 3D-printed ones, none can achieve permanent light protection. Even the thickest black plastic has some degree of transparency. Always store the cassette in an aluminum foil ziplock bag or other light-proof environment before and after shooting. Cassettes printed with PLA plastic no longer have light protection issues.
Film photography is highly personalized. Some people pursue precision, others prefer ruggedness, and some enjoy the abstract beauty of expired film with color shifts and light leaks. The most important thing is to experiment more, practice makes perfect, and if you’re interested, develop the film yourself to enjoy the complete silver halide process.
Small film is suitable for duplication, not scanning. Scanning resolution is insufficient, and the results are greatly compromised.